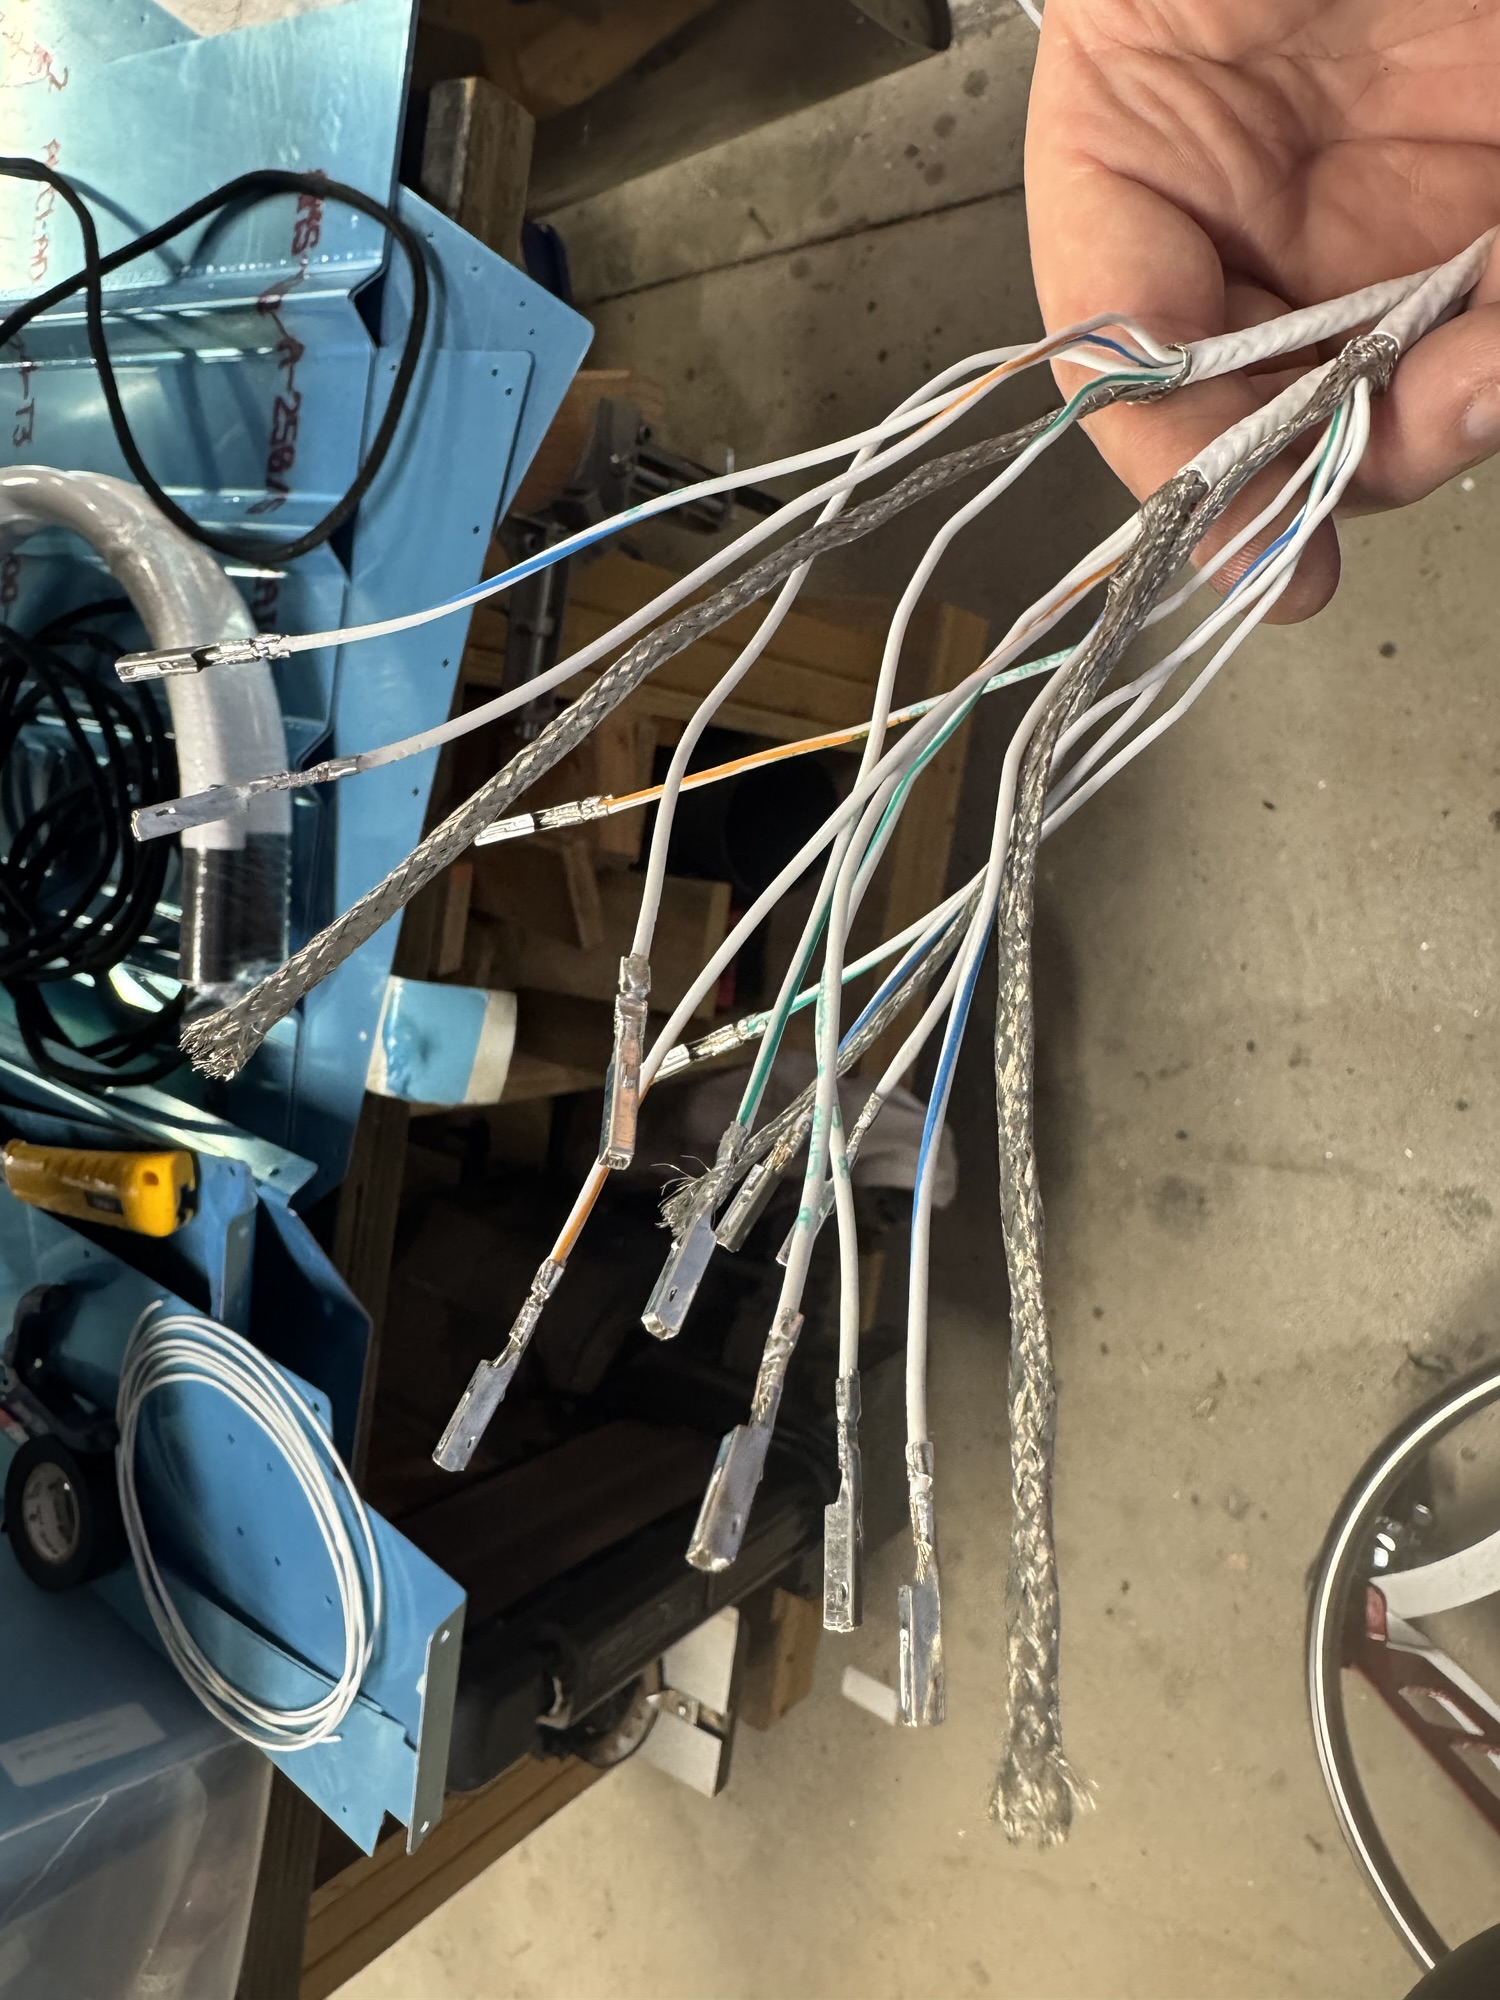
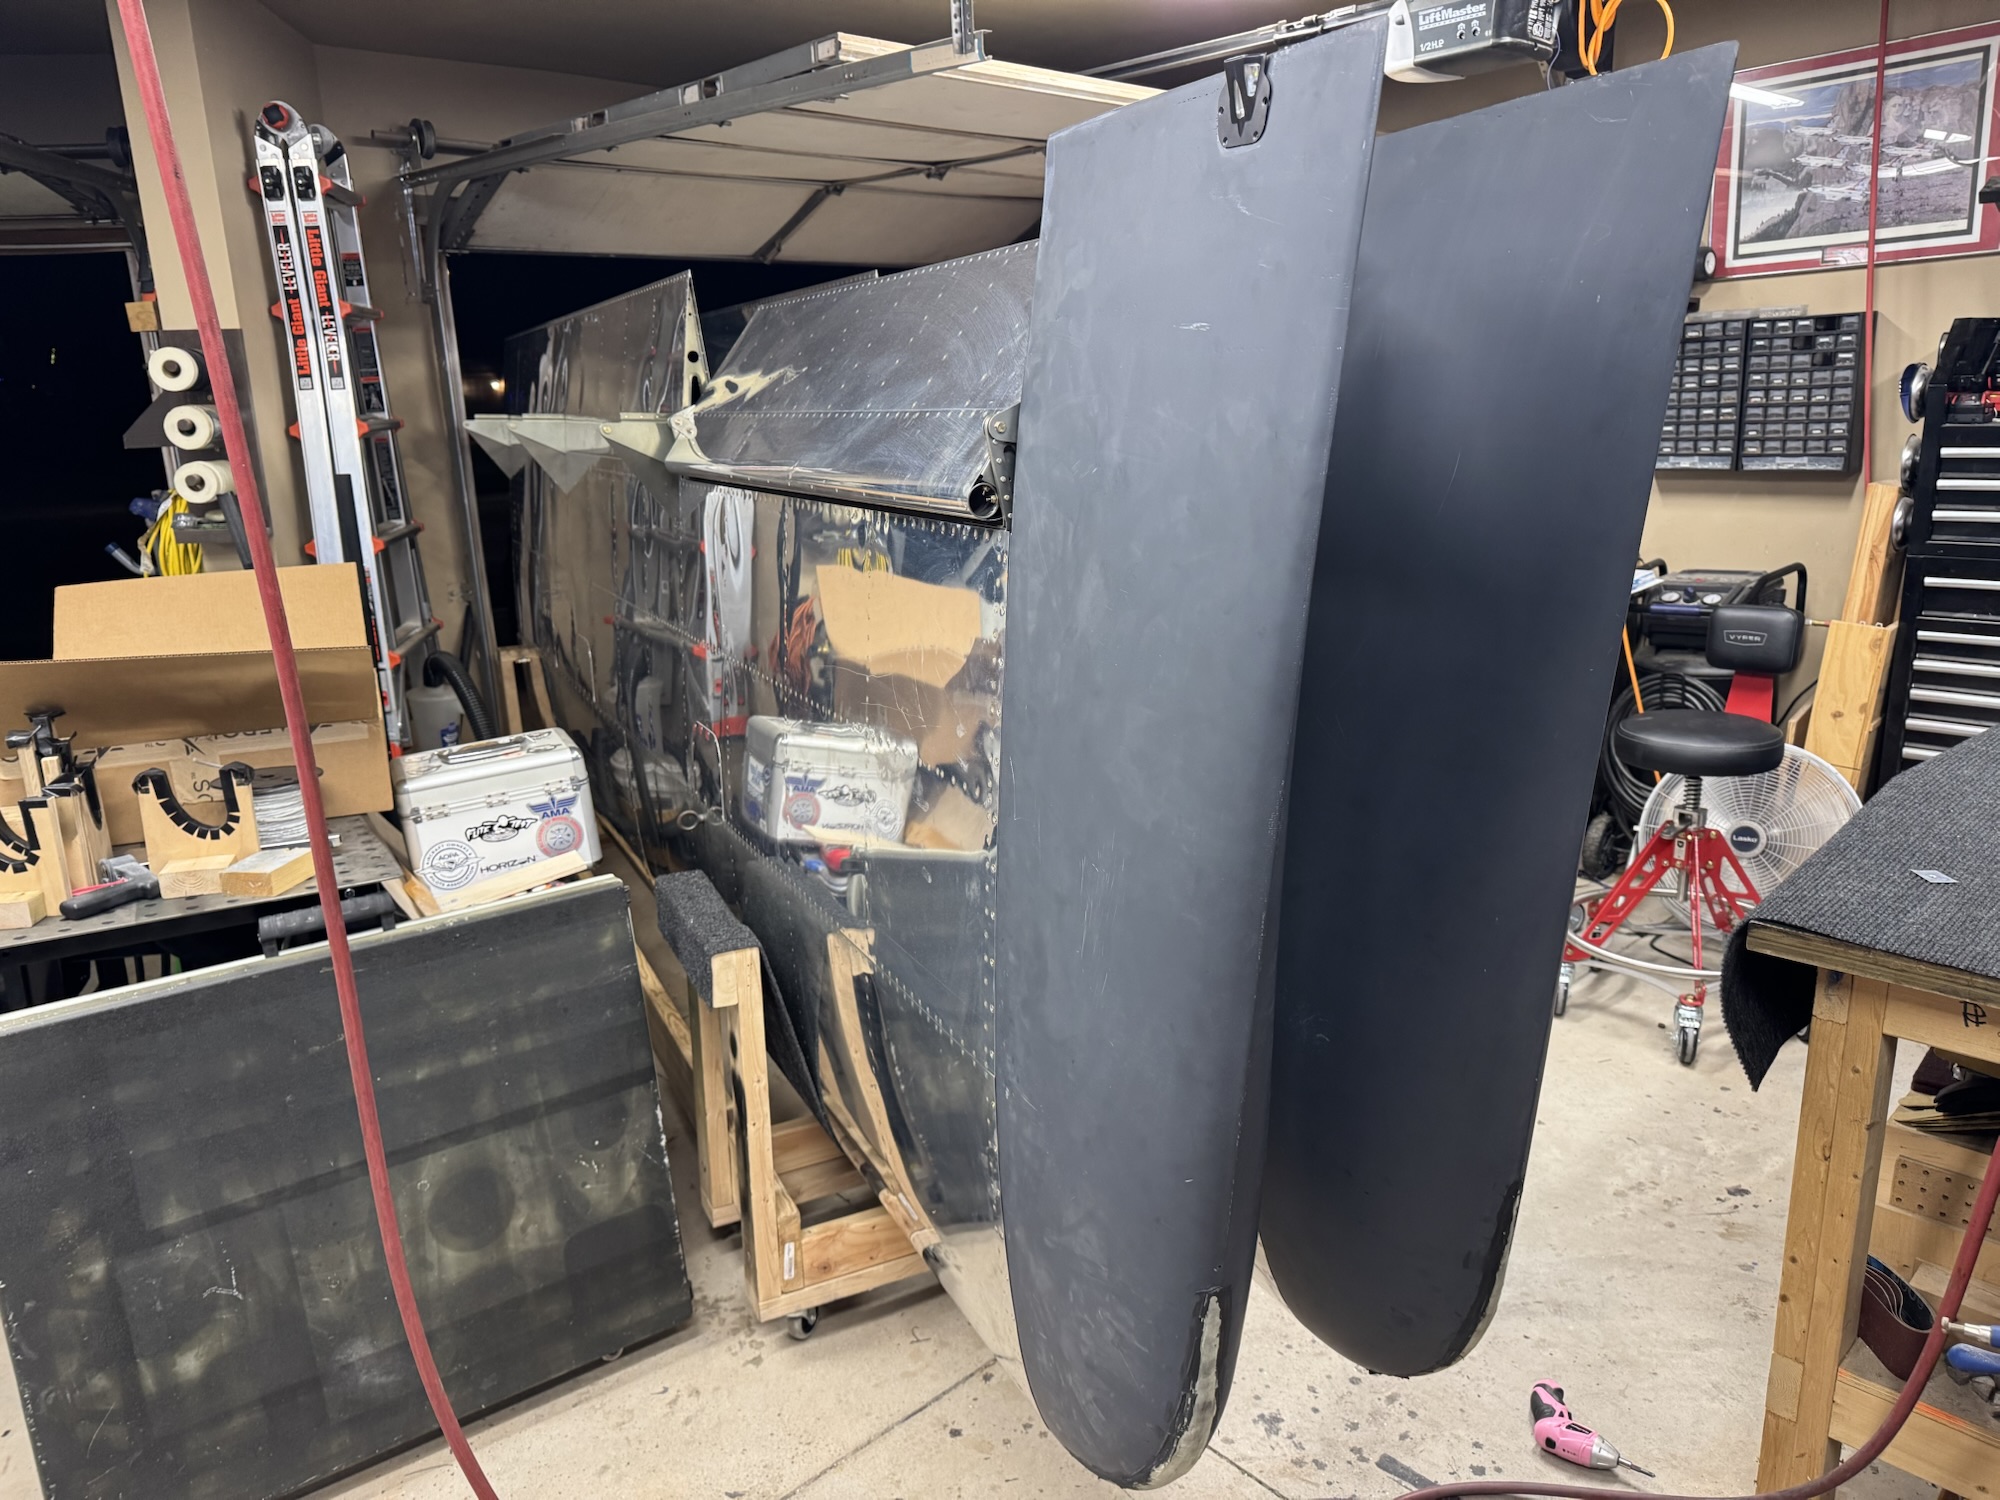
It took 4 hours but I got it done! I was kind of lazily watching Airventure at the same time but I got it done none the less. It is SUPER straight just like how the ailerons were. I’ve learned that the drilling of that trailing edge is critical to get it straight. I 3D printed a guide that had the right angle so it made it very predictable and easy to get the proper angle each and every time. I also changed the way I riveted the trailing edge this time around so I had no riveting marks in the skin. I used the squeezer with a flat set for the initial squeeze and then the final squeeze I used the angled set to get it right. It turned out really good! I substituted one solid rivet on the trailing edge for a pulled rivet just because I did not have a squeezer or bucking bar that could get in there. It already had one pulled rivet there so I felt having another one would not be a big deal. Now I just have to wait for my replacement parts to come in for the left flap which I don’t know when that will be here as alot of the crew for Van’s are at Airventure this week. The parts don’t show to be backordered so I’m hoping they will get it soon. I will probably start on getting the bottom skins going so that I can attach my flaps and ailerons. I just need to get the gap skin installed so I can install my flaps and ailerons and get them out of the way. I then need to get my pitot installed where I want it so that I can start getting the skin installed on the bottom of the wing. My final step will be to get the wing tips installed and wired and the wing kit will be done!


Categories: Wings

0 Comments