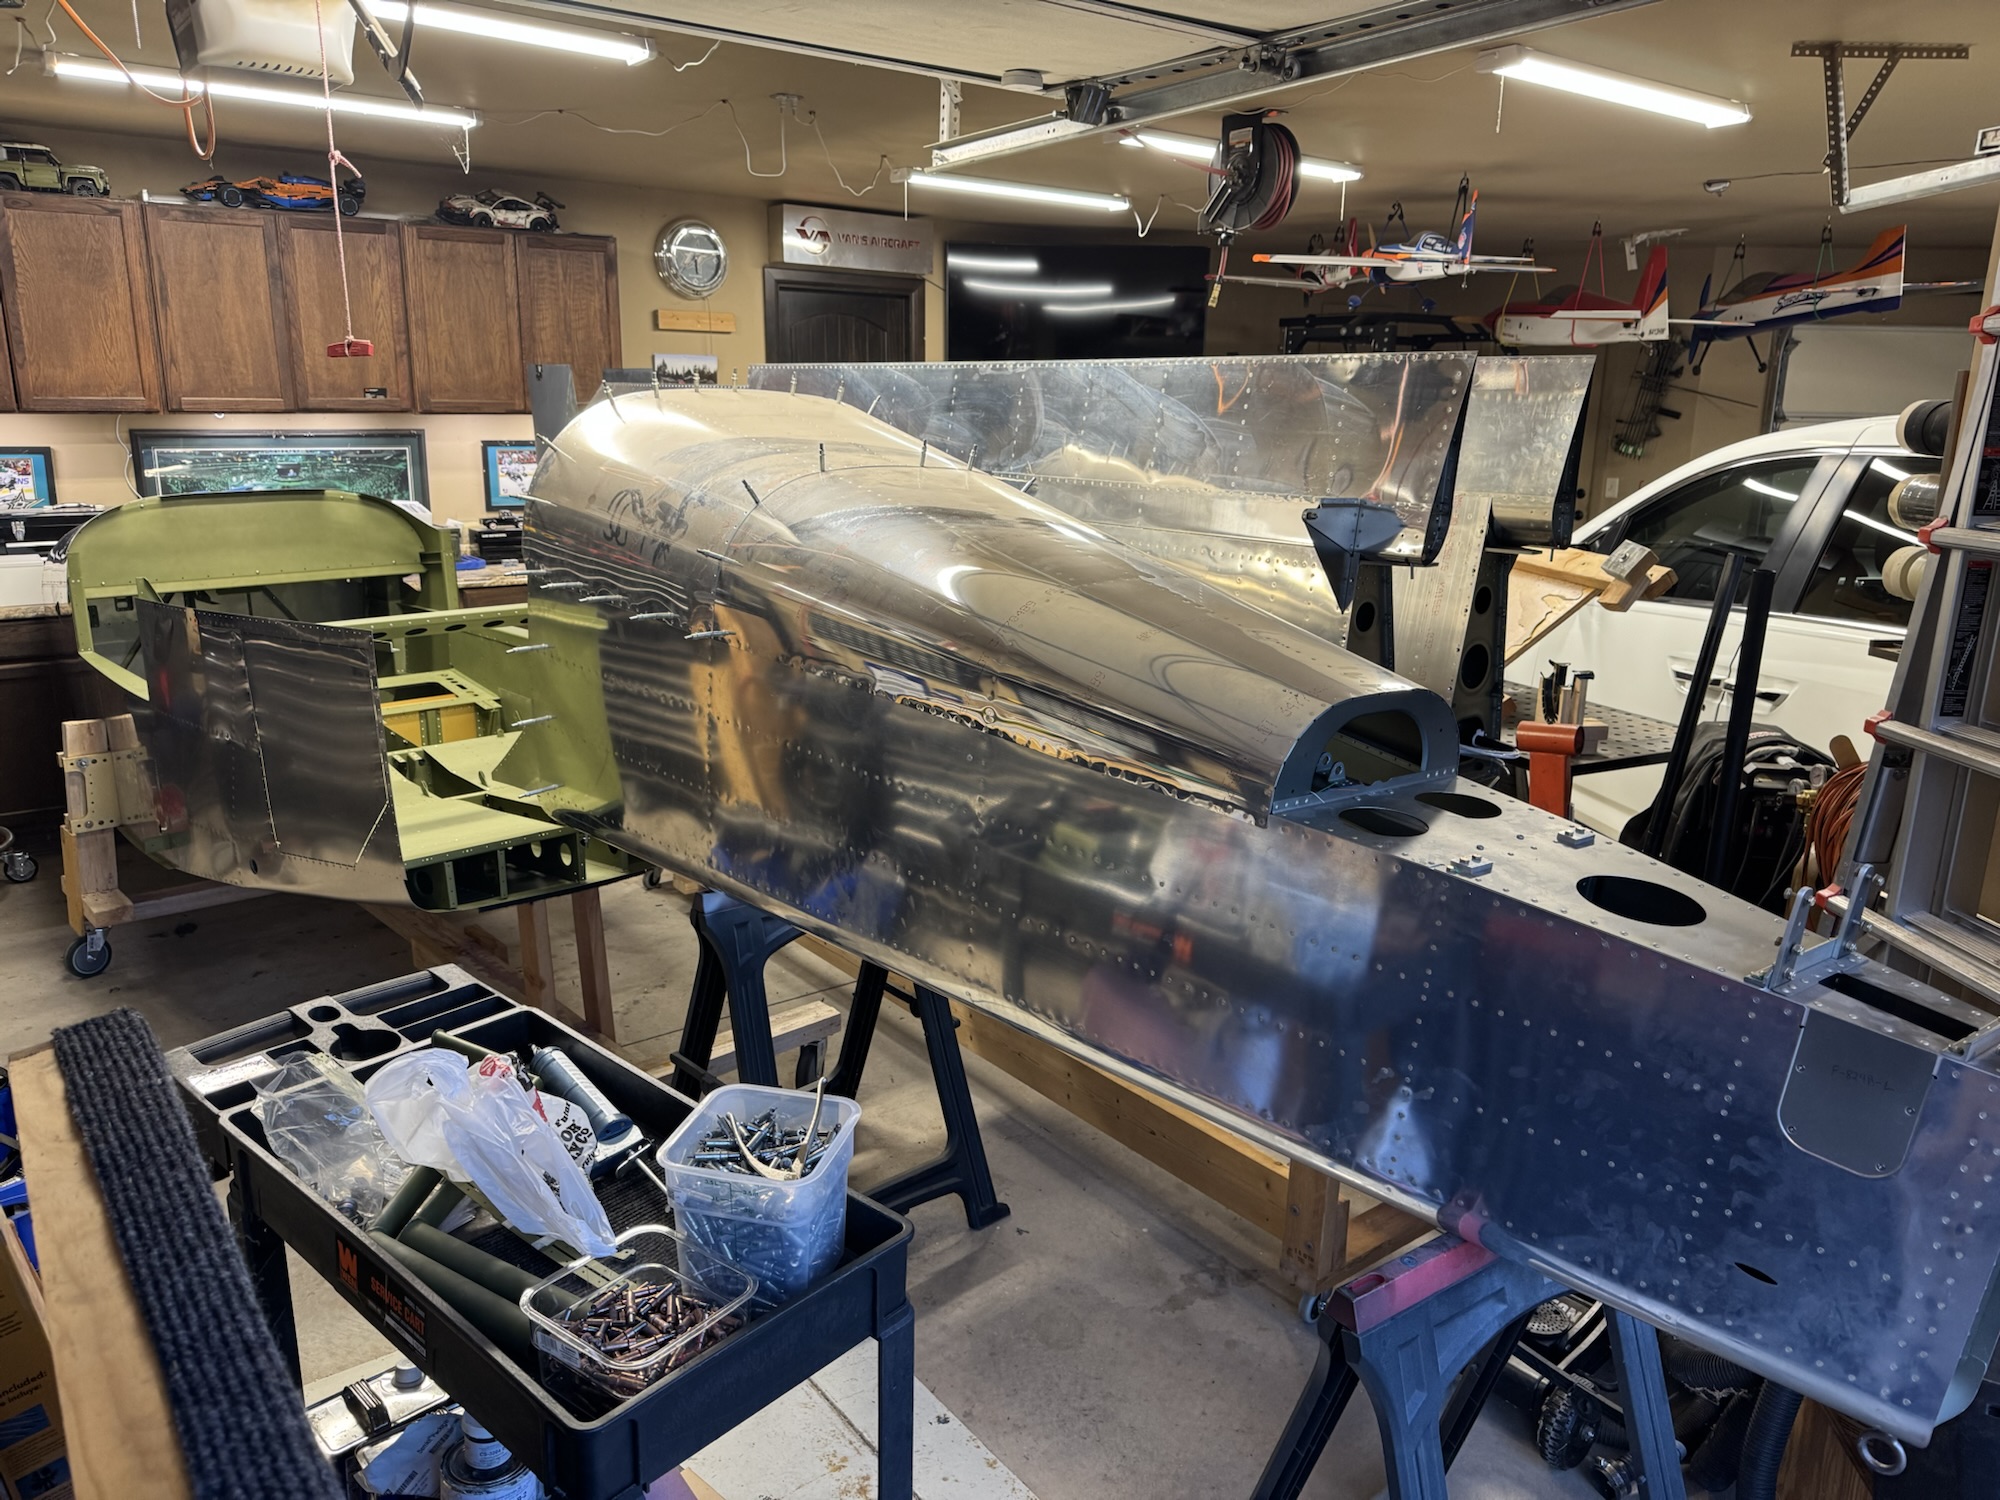
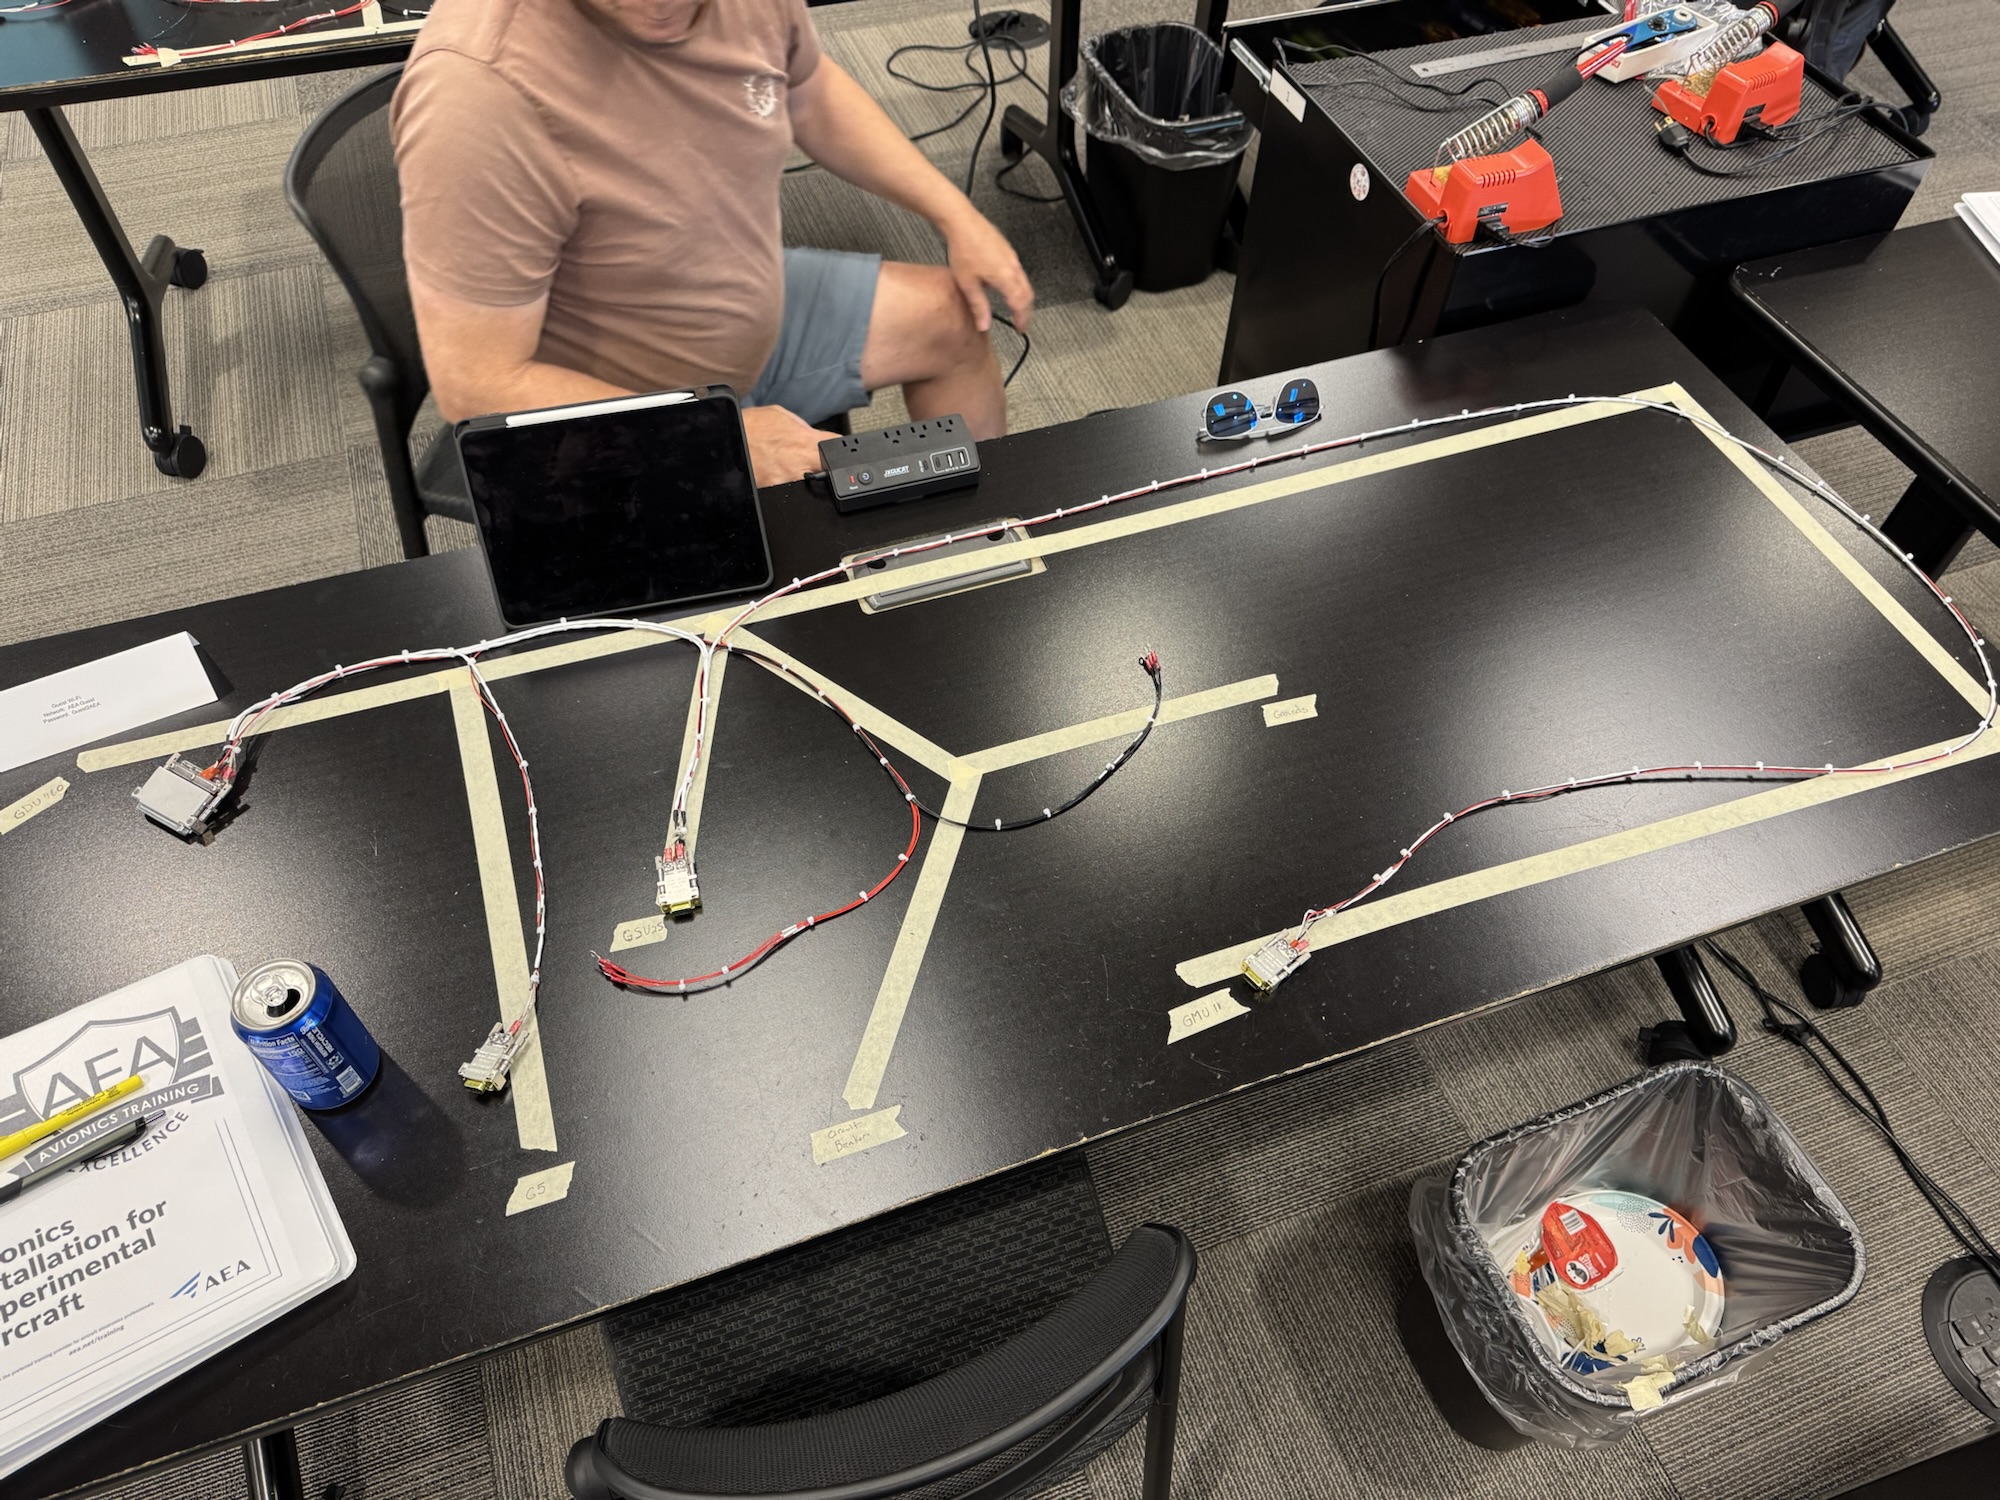
This was a really fun, easy, educational project. It gives you something that is usable after the fact and was simple enough that it doesn’t require alot of thought or even alot of tools. Here are the tools I used to complete the project:
- Pneumatic squeezer
- 3/32″ squeezer dies
- #30 drill bit
- #40 drill bit
- Scotchbrite pads
- Scotchbrite wheel
- De-burring drill bit
- Air drill
- Electric impact drill
- Rivet gun
- 3/32″ rivet gun attachment
- Back rivet attachment
- Back rivet steel bucking bar (more like a sheet but I forget it’s name)
It doesn’t give you a ton of instructions because there’s just not much to say. The only advice I would give you if you plan on using any style of rivet besides a blind rivet is this…. DO NOT PUT THE NUTPLATES ON UNTIL YOU’VE DONE THOSE OTHER RIVETS. LOL I had to change my rivet choice because the nut plates were now in my way of actually riveting the flush rivets in place. I could have used a very skinny bucking bar, but that hurts my hand so much and I couldn’t find a way to get a flat surface to rivet against on that area. That was the only problem I had with the instructions.
This project is very beautiful when it’s done. They have super bright LEDs that work very well. The only problem I had with the LEDs is that they would not stick to the surface. I cleaned it with alcohol and the next morning I came in and the lights on the top had popped off. I’m still trying to figure out what adhesive to replace it with so that it will be permanently installed. I have some strips of double-side tape at home that I might give it a try. I’ve never used them before and I believe they are from some brand that makes CA glue, so hopefully that means it will stick very well. Here are the pictures of the finished project.


0 Comments