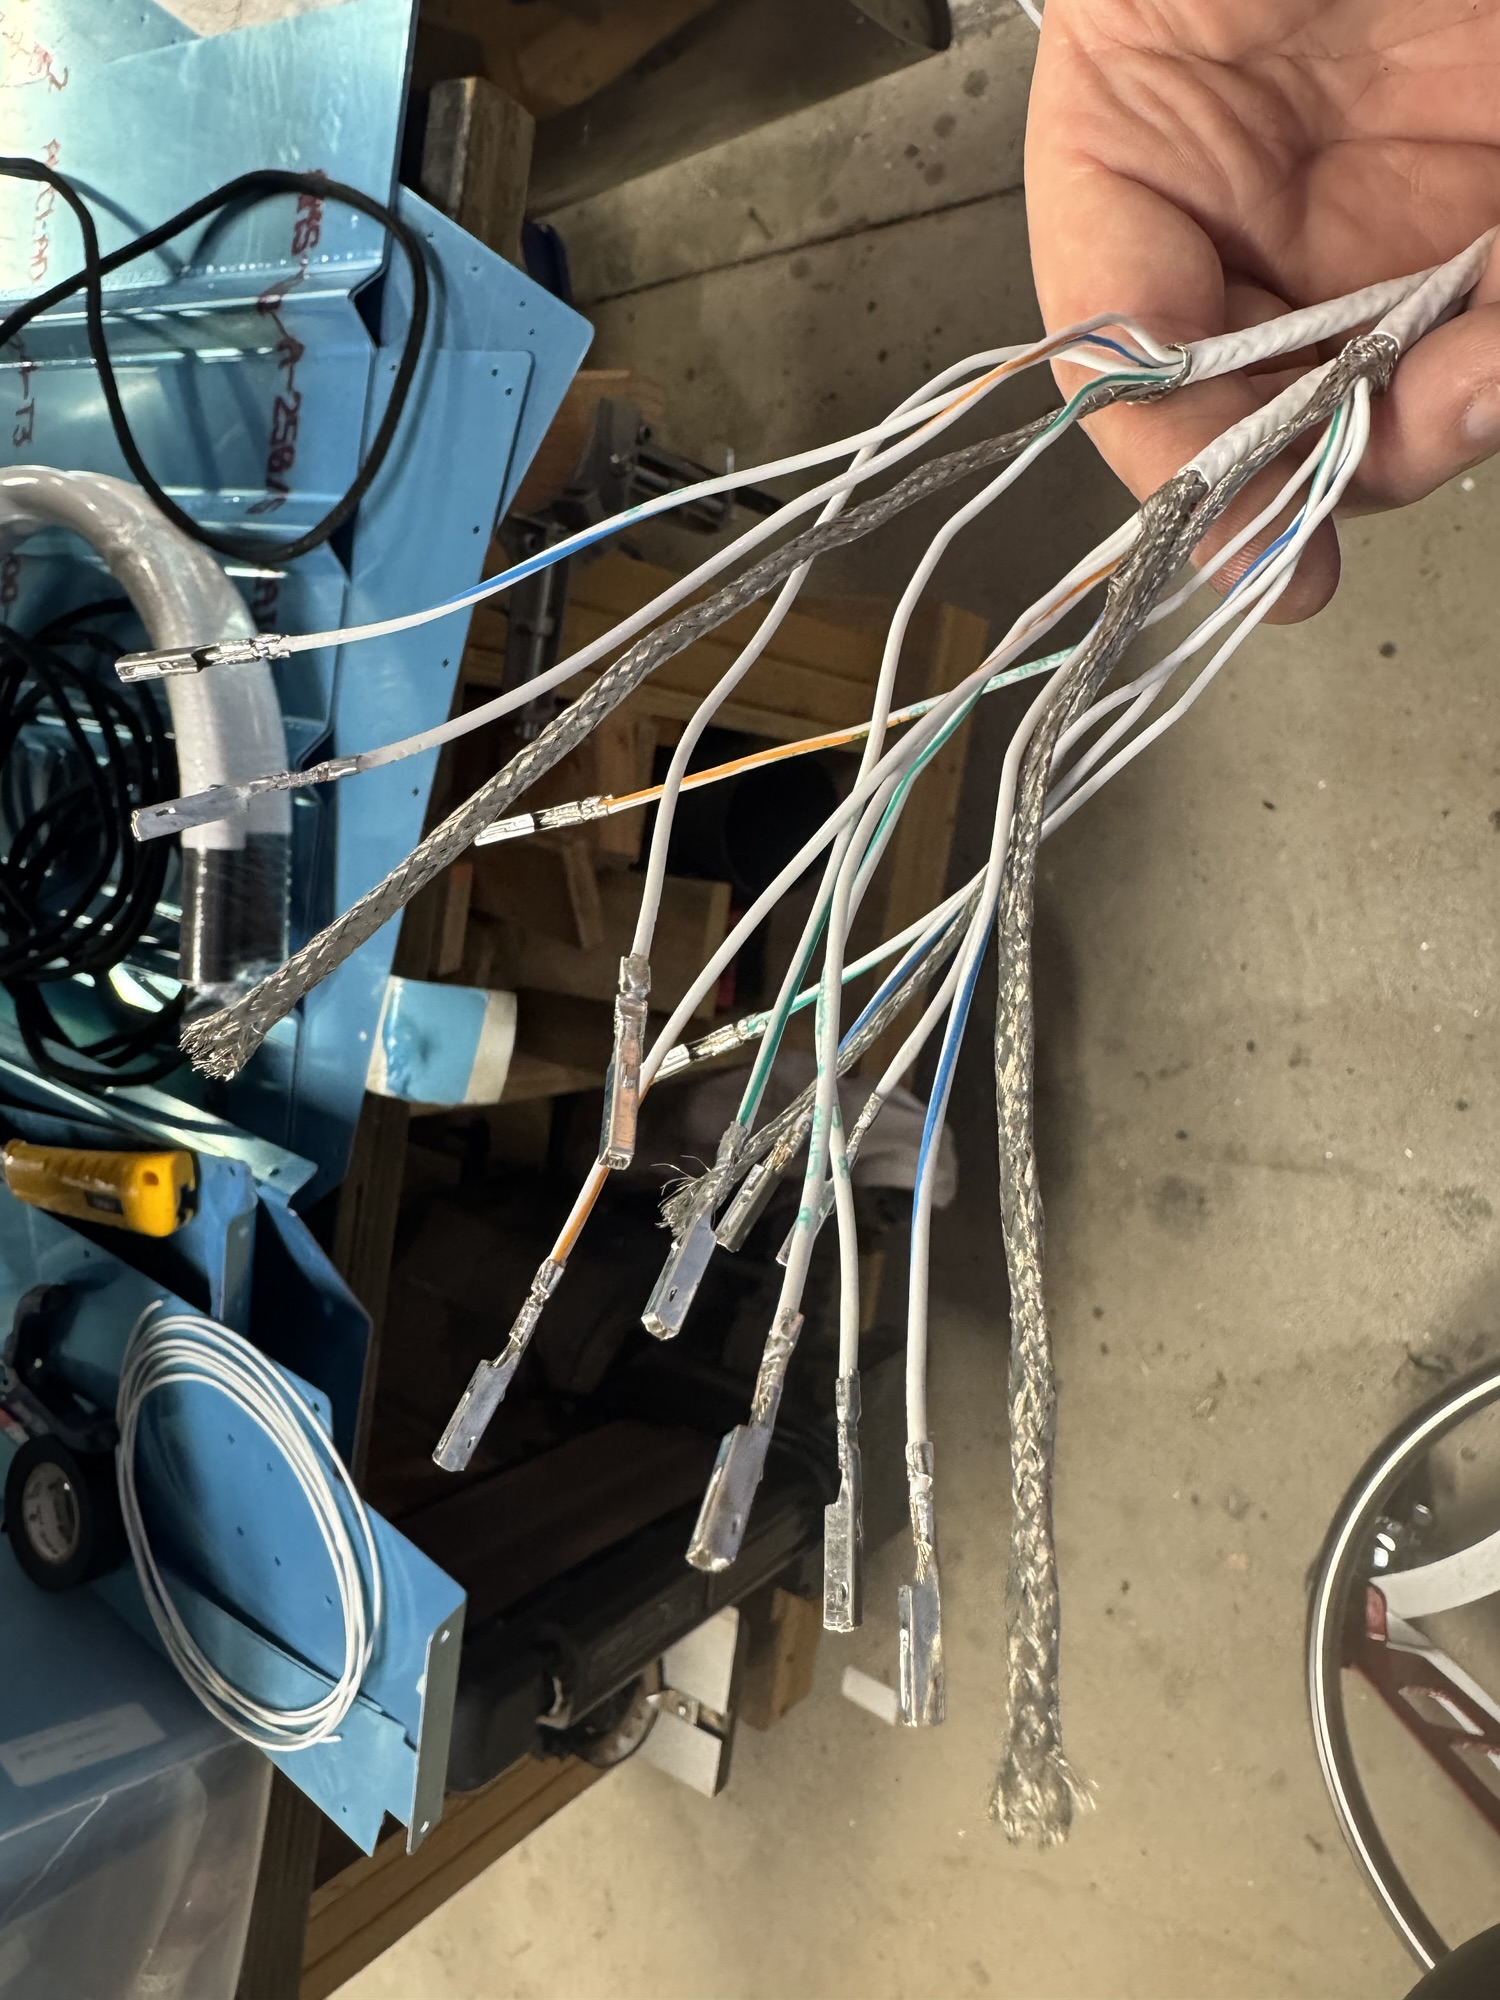
I spent quite a bit of time today reading through books that I had bought that talked about how to plan for your electrical installation, how to design it properly etc. I wanted to try to get as much of a head start as I can on my class coming up here in two weeks as I could. I also wanted to make sure I was getting the wires that I needed to install now as the right size, etc. One of the wires I was not sure about was the wiring for the wing tips from Aeroleds. They gave me hardware for 18GA wire but from what I am understanding for the sizing I would need 16GA or even 14GA for the landing light and definitely 16GA for the taxi light and ACS. But they also recommended that I get three strands, each with four conductors. Well the largest gauge wire I could find in that was 18GA. I gave them a call this morning and spoke with one of their engineers/designers and he stated that while if you want full voltage (which my system will be putting out around 13.8 volts or more since it is a 14 volt system) then a 14-16GA wire is definitely the right choice, but the design of these lights is set to run on 12.5 volts and still be fully functional. This is why they gave you the 18GA connectors but of course they still leave it up to you on the choice of wire gauge. Ken stated that he had been running it on 18GA wire without any issues so that I what I plan to do. I got all of that ordered today from Steinair and hopefully I can get those run next week when it all arrives so that it will be there and ready when I get the wingtips installed. I need to research how much the connector at the wing root will add to the resistance as I will need to make sure I can disconnect the lights for wing removal. Luckily even if I do change my mind I can still do it and I can use this wiring somewhere else still.
Now on to the biggest story which was the pitot install. Since the pitot does not come with the four screws to attach it to the pitot mast I went by the local aircraft supply store and they just happened to have some AN526-632-4R which would fit this scenario just perfectly. I bought the bag for $5 and brought them home after work. The first three screws went in without an issue. The fourth and final one though felt just a slight bit more difficult to turn (remember all screws and fasteners for aviation are much tighter for vibration so it seems to always feel like you are cross threading things). I slowed down some but kept going when all of a sudden the screw snapped! And it didn’t leave enough for me to get ahold of with my pliers so I filed it down some to get a flat surface, used my centering punch and started drilling. Well that got off center and then ended up messing up the threads in the pitot. Well… I can always upsize the hole. So I went to drill out the remainder of the screw and then I screwed through the entire weatherproofing seal at the top! SMH With the ruined wiring, the messed up mounting hole, and now this weather seal punctured, I decided to just call this the spare parts pitot and order a new one. I have to look at the bright side that at least this new one will have excellent connectors on it which I don’t have to mend and I don’t have any work to do with it except slide it into the mast and install it. Boy… a lesson learned and definitely an expensive one at $670.
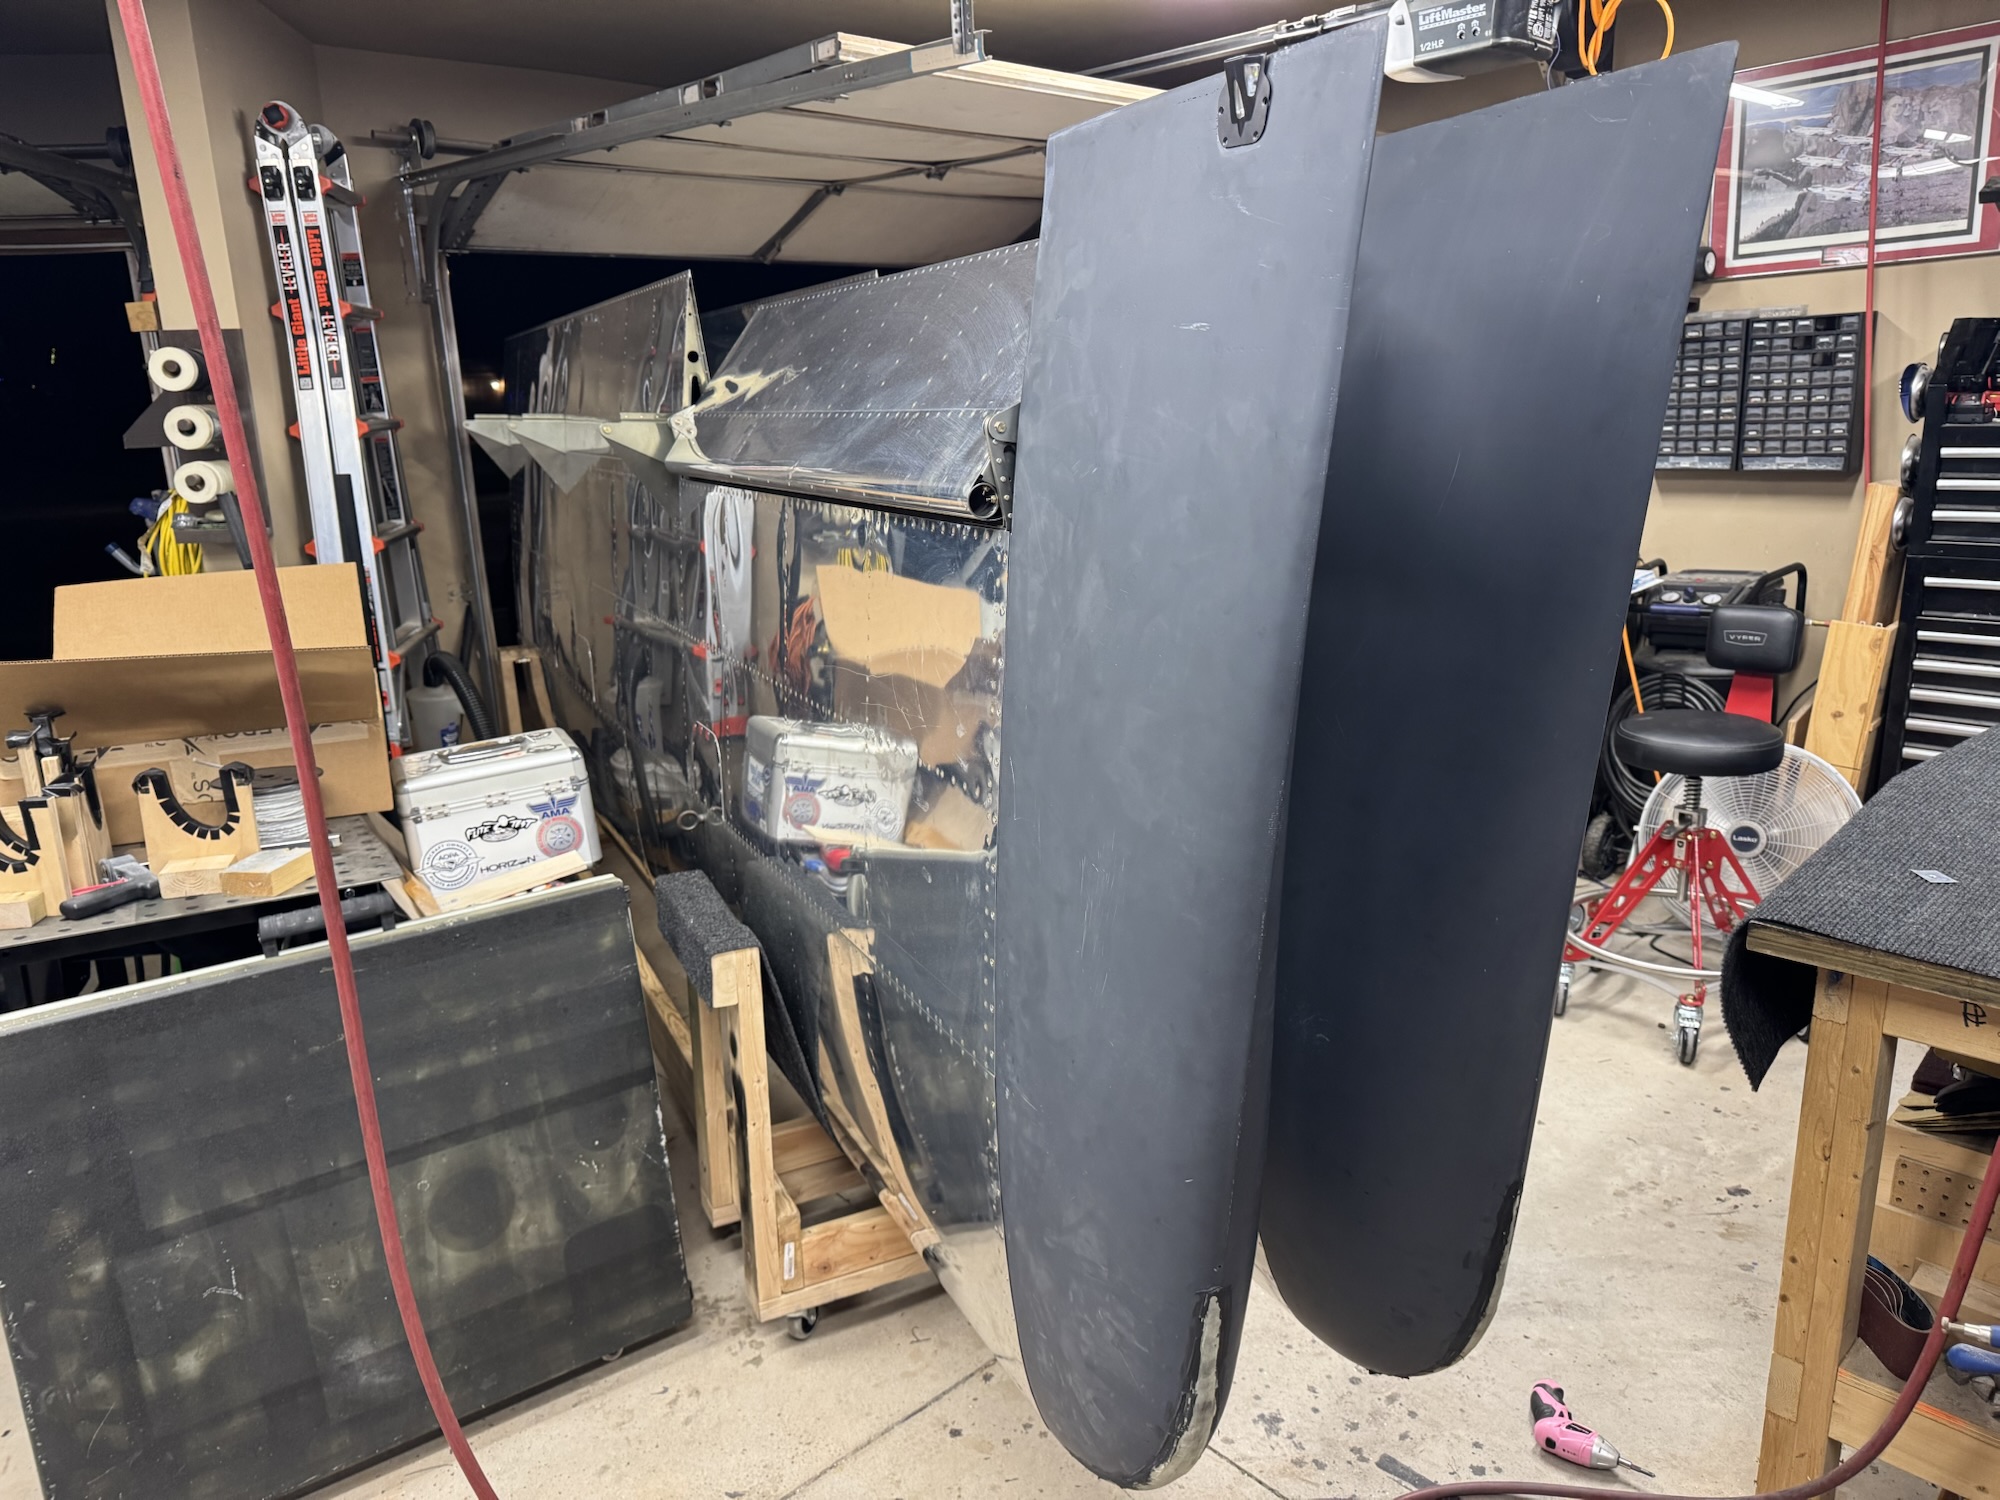
I did get good use of the rest of my time though and I started dimpling the parts for the left wing. I want to get the inner skin installed tomorrow if at all possible, but if I can’t that’s fine as I don’t want to rush just to meet an objective. I hope to have the new Van’s flap parts on Monday or Tuesday as I thought they were supposed to arrive yesterday but that was actually OAT probe or something else I can’t remember now. So hopefully I’ll get the flaps section done soon so that I can be wrapped up with those past sections and just be focused on the bottom skins section.

Oh! I did have a call with my EAA technical advisor about the exits or branches I wanted to do on my existing conduit. He said it is completely acceptable to make a hole for the exit and that I could use electrical tape to seal it off or since I shouldn’t be planning to go back in there for a very long time I could put silicon sealant in it. Just to allow for future changes and modifications I decided to do electrical tape so I cut those two exits (one for the OAT and another for the pitot heater control) and got those as finished as I could. I am waiting on the 14GA wire for the pitot heat and ground that should be coming in tomorrow. I will get my heat shrink and soldering out, connect those up and run the wires through the conduit and seal it up with electrical tape.

Lots of little things being done but it is good to keep making progress (even though this thing makes me feel like an idiot every day!)

0 Comments