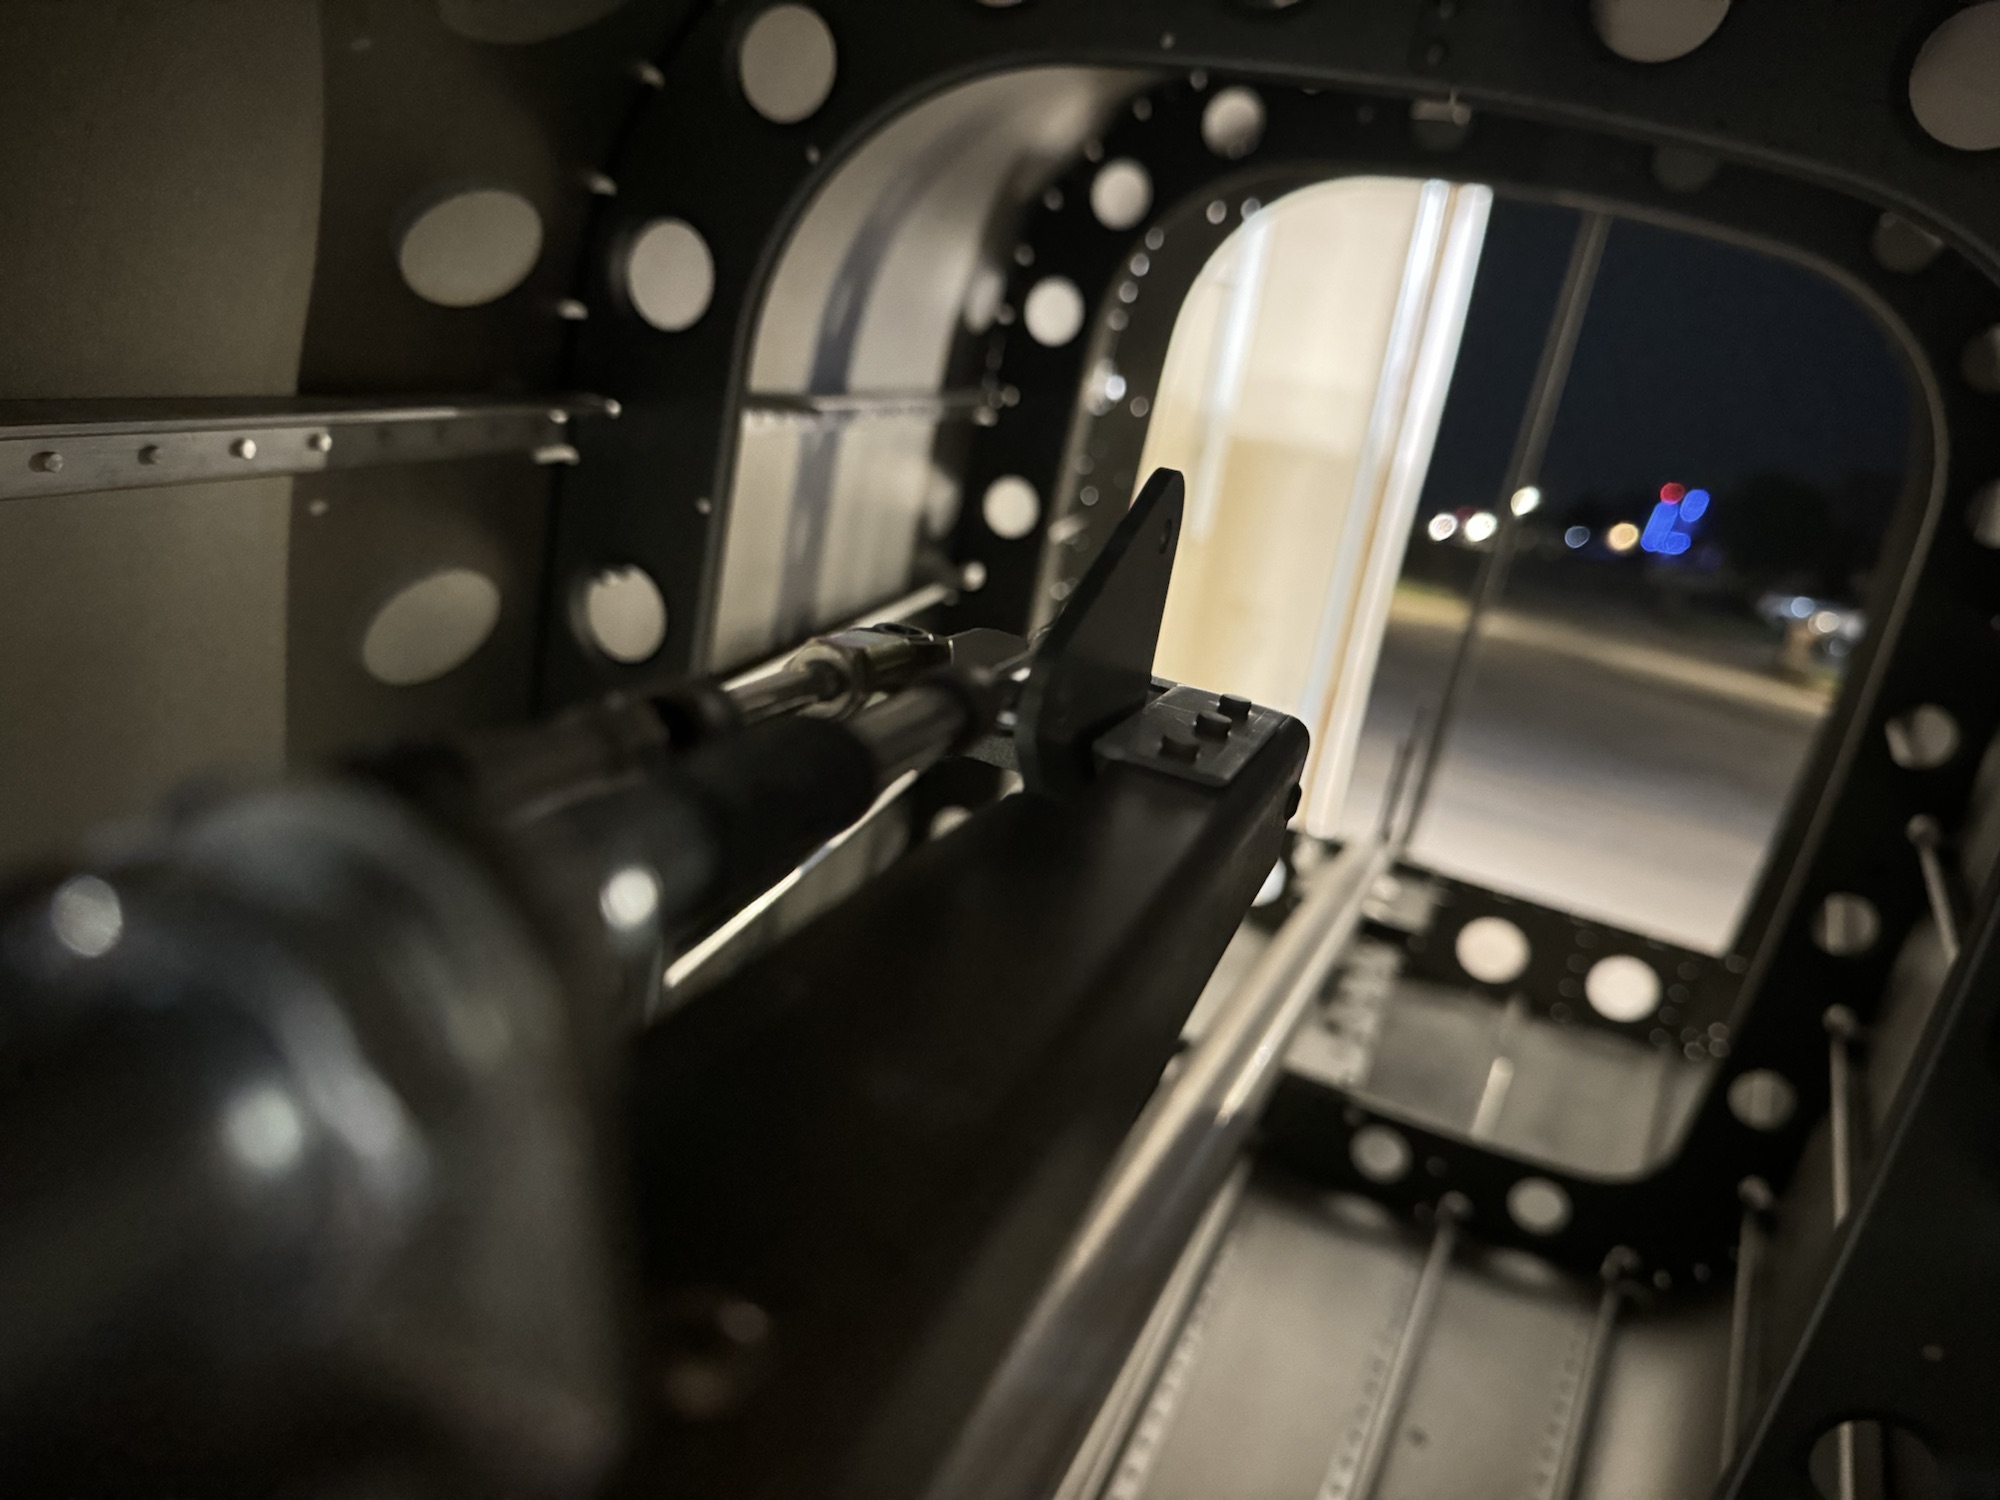
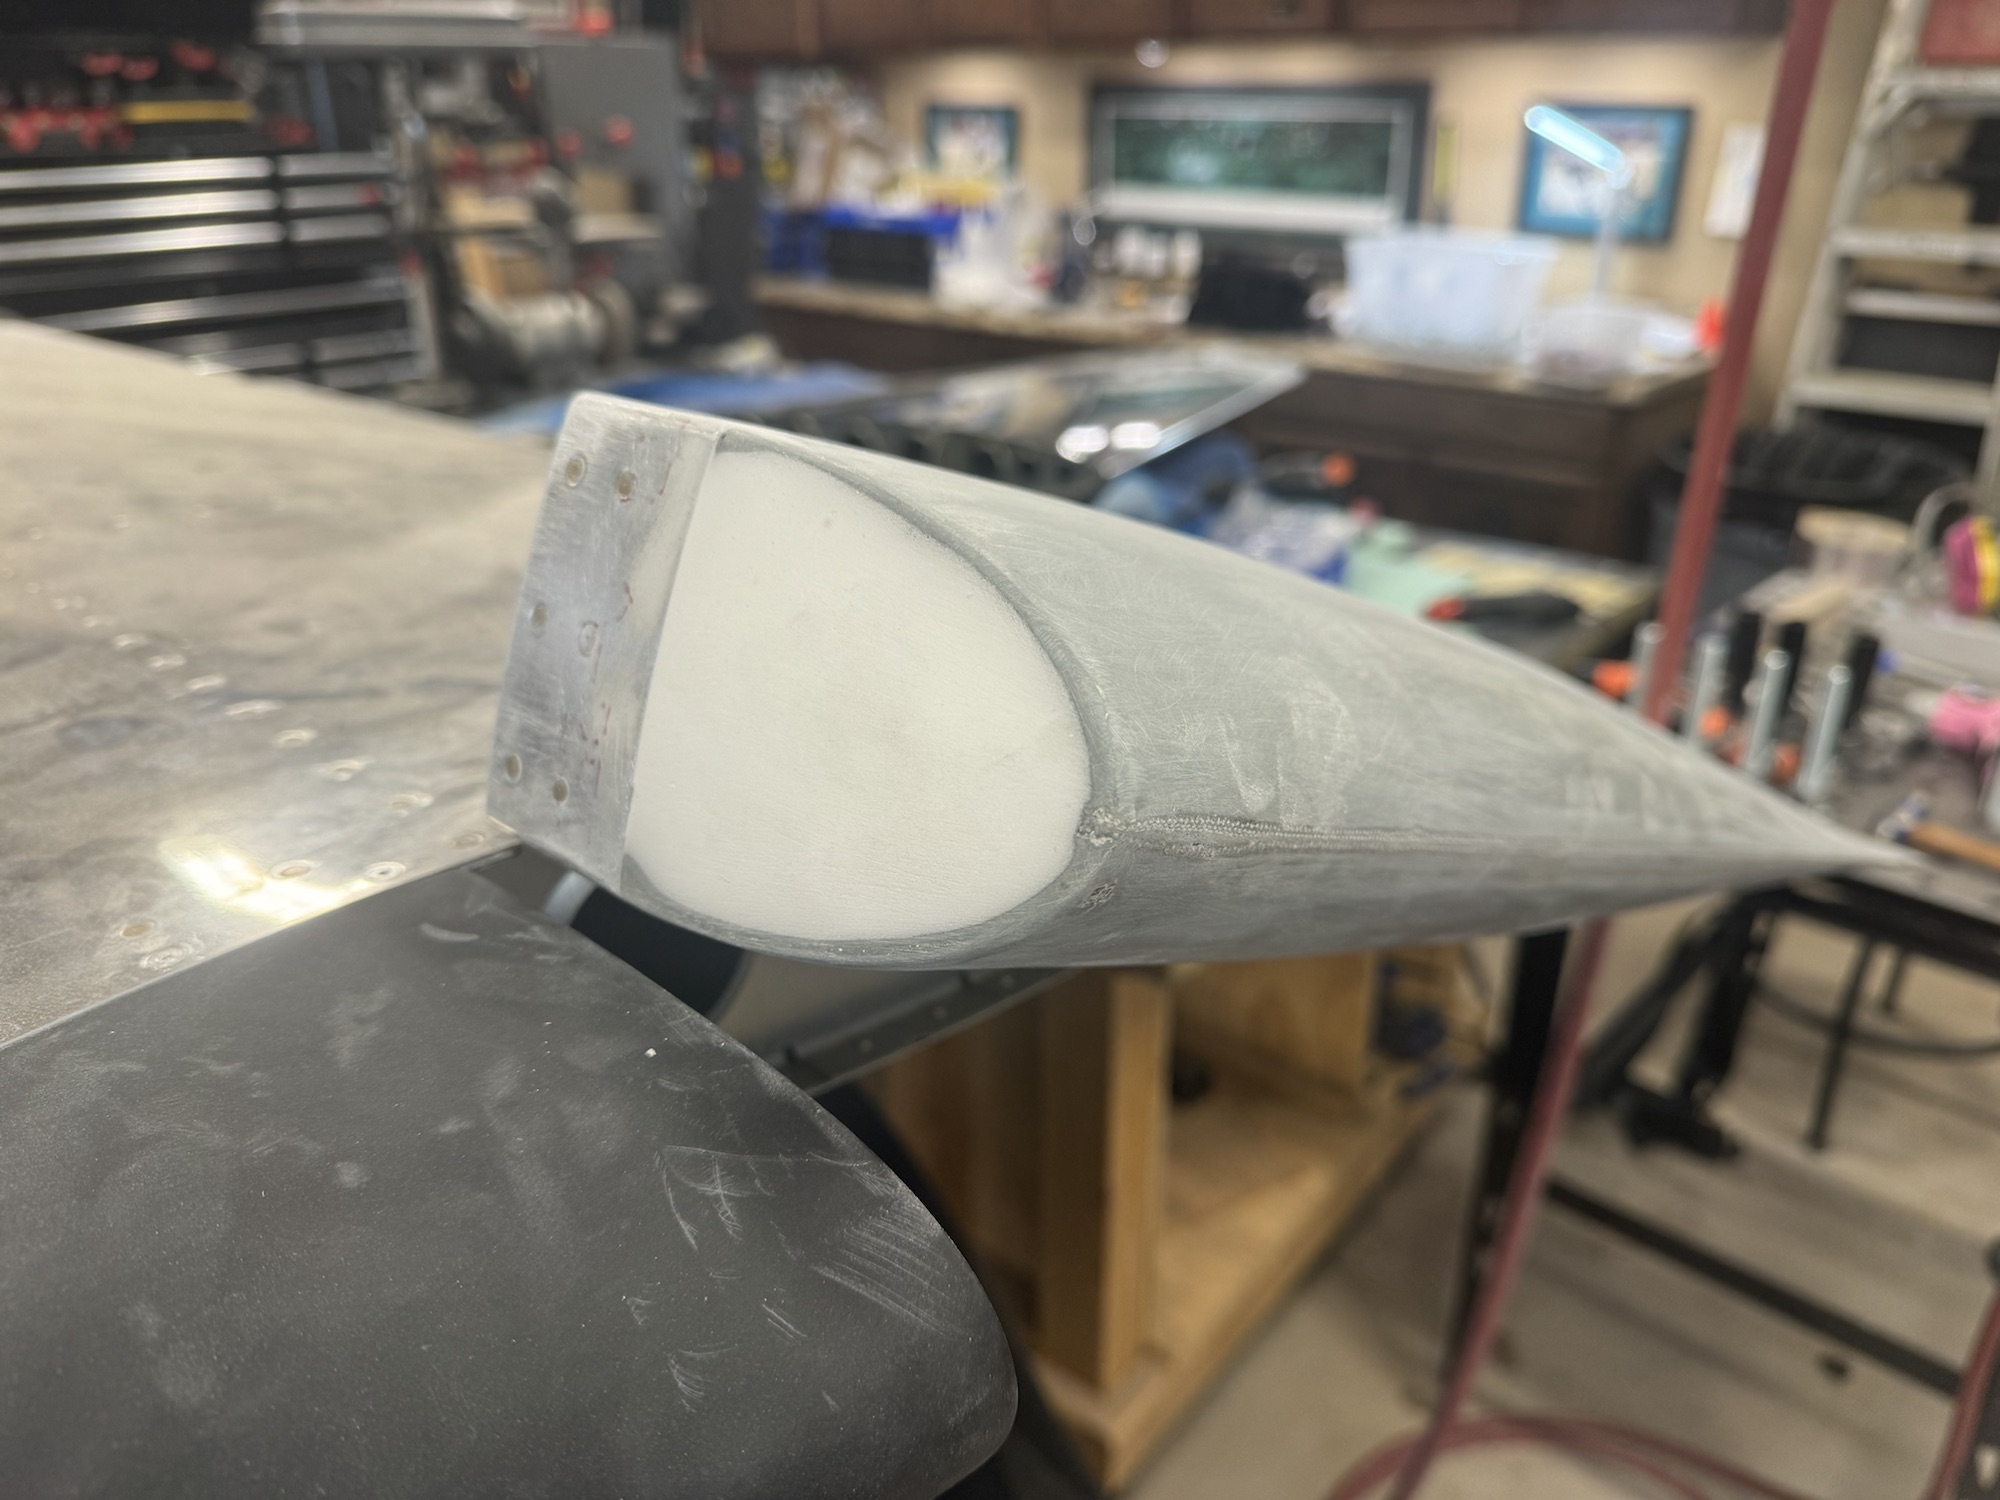
After I had finished all of the match drilling yesterday, it was time to work on these access panels before it has to be entirely disassembled. I did both the left and right elevator since my missing hardware does not affect me prepping these parts. Getting the nut plate drilled onto the access panel wasn’t too terribly difficult but that steel is harder and dulled two of my bits before it was all said and done. Luckily it only dulled the tip so I can still use that last bit for match drilling. I had a difficult time getting a hole to keep the bit centered. I am going to see if I can find a good notching tool today as my current tool is not really designed for metal.
I moved to the dimpling of these parts which had some of it’s own challenges. First was that I grabbed the wrong nutplates. I accidentally grabbed a K1000-06 thinking I had grabbed a K1100-06. I saw that this would NOT work and I was curious what the heck I did wrong. I posted it to the Facebook group called Van’s Aircraft builders and they VERY quickly spotted I had the wrong part. I went back to check and sure enough my bins for the K1000-06 and K1100-06 are right on top of each other and I must have seen the number but then pulled on the wrong bin. I am glad I caught it though instead of moving forward in my ignorance. It was good to learn the difference between a K1000 and K1100.
The next issue that I encountered was that the access panel would not sit flush to the reinforcement plate. The dimples need to be deeper in the receiving reinforcement skin. One of the guys on the Facebook group mentioned using the deburring tool to massage it. I did some but it didn’t help enough. I’m curious how much material should be removed there. I searched to see if there was a different dimple die for the bottom skin but I didn’t find anything yet. I’ll keep looking because that is going to make the access panel sit proud of the skin when all is said and done.
Everything though is finished at this point and I will start disassembly and deburring this afternoon. This actually spanned last night and into this morning (12/10 to 12/11/2021)
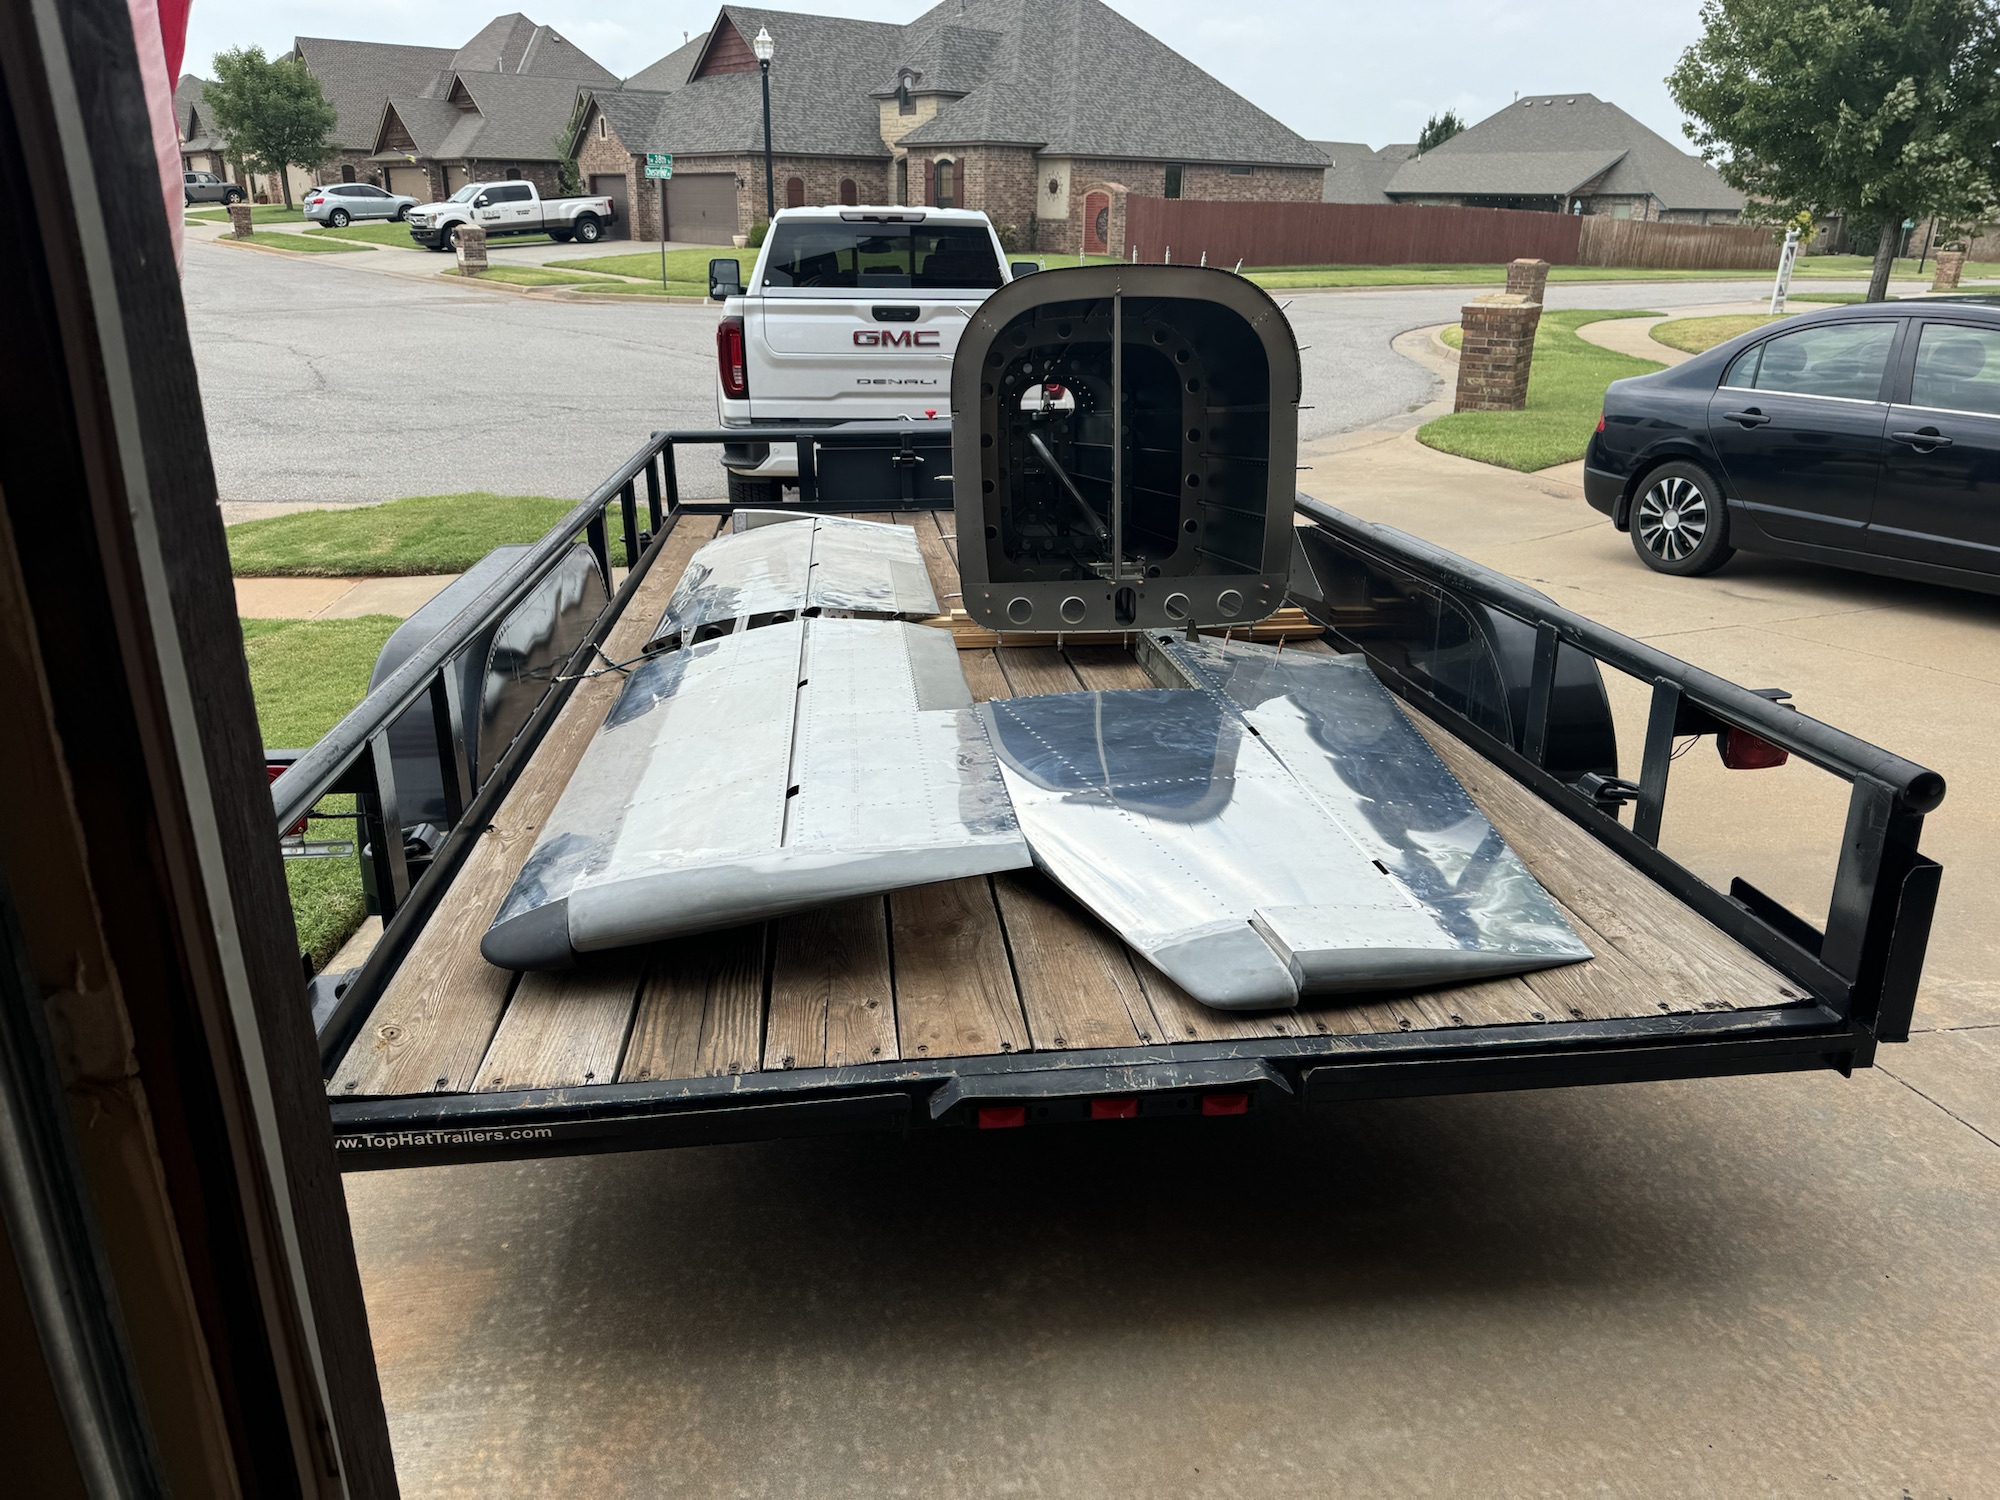
On another note, I decided to secure the parts that I had already built. During the Christmas decorating the boys kept touching and moving the parts and it was making me VERY nervous. I decided to use some of that A/C mounting ribbon to string it from the rafters in the attic. This will work for these parts but I don’t want to do this for the wings and other parts that will be built. So I’m building a shed in the back yard that will be 10′ x 14′ where all of the yard tools and chemicals will go that are taking up a large portion of my garage storage space now.
And a final note, I ordered my wing kit yesterday! I saw that the lead times were up to 10 months now for a kit! Crazy what this pandemic has done to lead times! Either way, fingers crossed that arrives in October or sooner but it looks like I’ll have some downtime between the empennage kit and the wing kit.


0 Comments