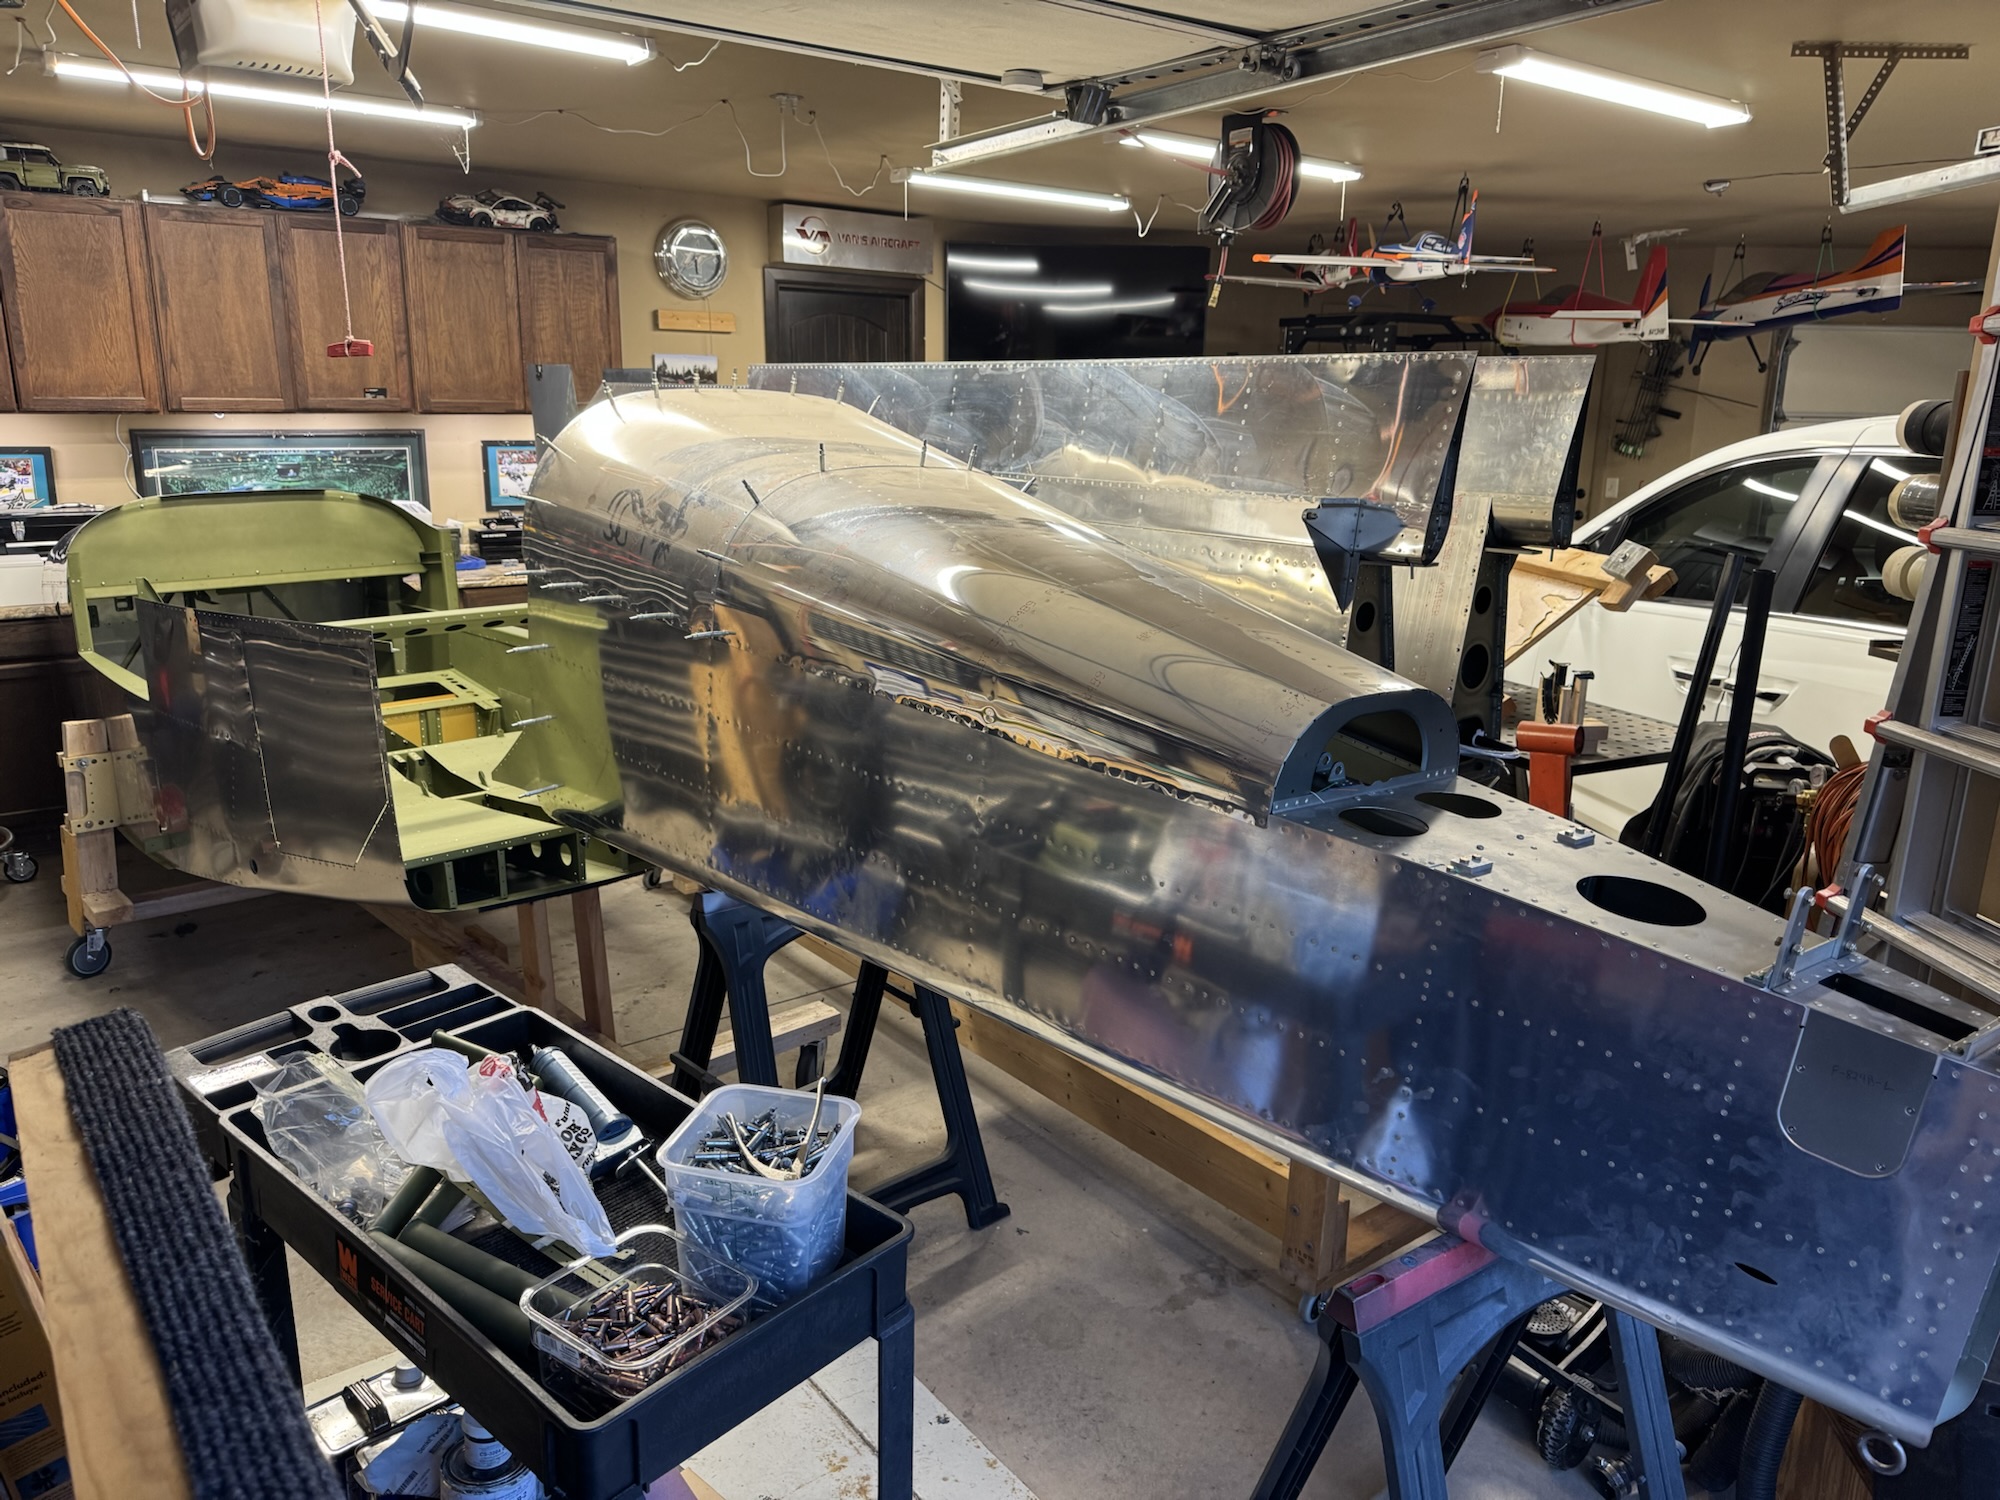
I started Friday after work in earnest with the stiffeners. I took the stiffeners and cut their shape out, sanded them down, de-burred the edges, and set them aside for morning. I honestly believe I’m going to need to go through another practice kit. There are so many things I’m learning not only about metal working, but about the tools. I’ve spent alot more time working with wood than I have with metal. My father taught wood and metal shop for college students back in the 60s and 70s but I never learned this from him. Much of my woodworking skills have been through learning through mistakes, YouTube videos, and even some online classes such as Wood Working for Mere Mortals with Steve Ramsey. I’ve not seen a riveting class yet but I’m hoping that when the restrictions from COVID-19 are lifted I will be able to visit my local EAA chapter and possibly they’ll start holding the SportAir workshops again.
Enough back story, and on to the rest of the project. The riveting is getting better each time I do it. Again, I will not say I’m perfect, but it’s way better than my very first set of rivets. I can’t wait to have someone look at these and judge them in person, but the rivet gauge is telling me they are meeting spec. The hardest part of this part of the kit was doing the work in these tight areas. And this isn’t tight either. I’ve seen pictures of people having to work in extremely tight spaces where they have to make special tools just to buck them right. Some of these were underset and others were overset. Luckily I’m getting these things figured out on the practice project rather than the airplane kit itself.

I did learn another absolutely necessary lesson… Always hold the piece down with a vise or some other clamping mechanism. The picture below shows what happens when I start bucking and the work piece is loose on the table…

I looked at that and had a really good solid laugh watching how it would jump quite a far distance with each impact. And if I count them right it hit four additional times on the piece after it left the middle rivet. Below is another example, before I had fully learned the lesson. Luckily it didn’t jump too far, but it marred the manufactured head on these 470 rivets.

All in all, I got to this part in the project before I decided to call it quits and re-read the chapters on riveting just to see if I’m going to learn more this go around.

I have both of the skins drilled and de-burred, the stiffeners have been attached, the spare has been match-drilled and de-burred, the ribs have been drilled and de-burred, and the trailing edge has been drilled and deburred as well. All of this was cleco’ed together to see how it all looked and fit. I was very happy with the progress I had made, seeing the lessons I had learned from the bumps and scrapes on the project surfaces and having the tools all put away for the day. We’ll see how far I get the rest of this week as I also have the Van’s Aircraft light box to build after this.


0 Comments