I couldn’t wait any longer to keep learning about riveting, assembling, etc. I had the project all cleco’d together when I left it last. I decided I would check out the pneumatic squeezer and how it functioned this time since I’d already spent a good amount of time dimpling with the C-frame. I can now see why so many builders like this tool. Once it was set, I really had very little to do except line the hole up with the male portion of the dimple and press the trigger. It made quick work of all of the dimples on the edge and across the spar section. I got so excited that I just went to riveting after the fact. I didn’t read the instructions exactly as they were meant to be read LOL. That lead me to another issue. The picture below is the front and back of where I finally realized my mistake. Anyone able to spot it?


As I was thinking about how to get the second skin on at this point was when I realized…. How am I going to do that with the top skin riveted? I went back to the instructions and finally understood what they wanted me to grasp. I was to rivet only the bottom section of the skin to the main spar and not rivet it just yet to the ribs. So out came the drill to remove all of the rivets I had done up and down the ribs to the C-2 skin. I did really good at removing the rivets all except for one. It was just slightly bigger now, which I opted to just skip drilling it bigger this time and just remember that I would have to drill it bigger, de-burr it, and re-dimple it in the actual build.
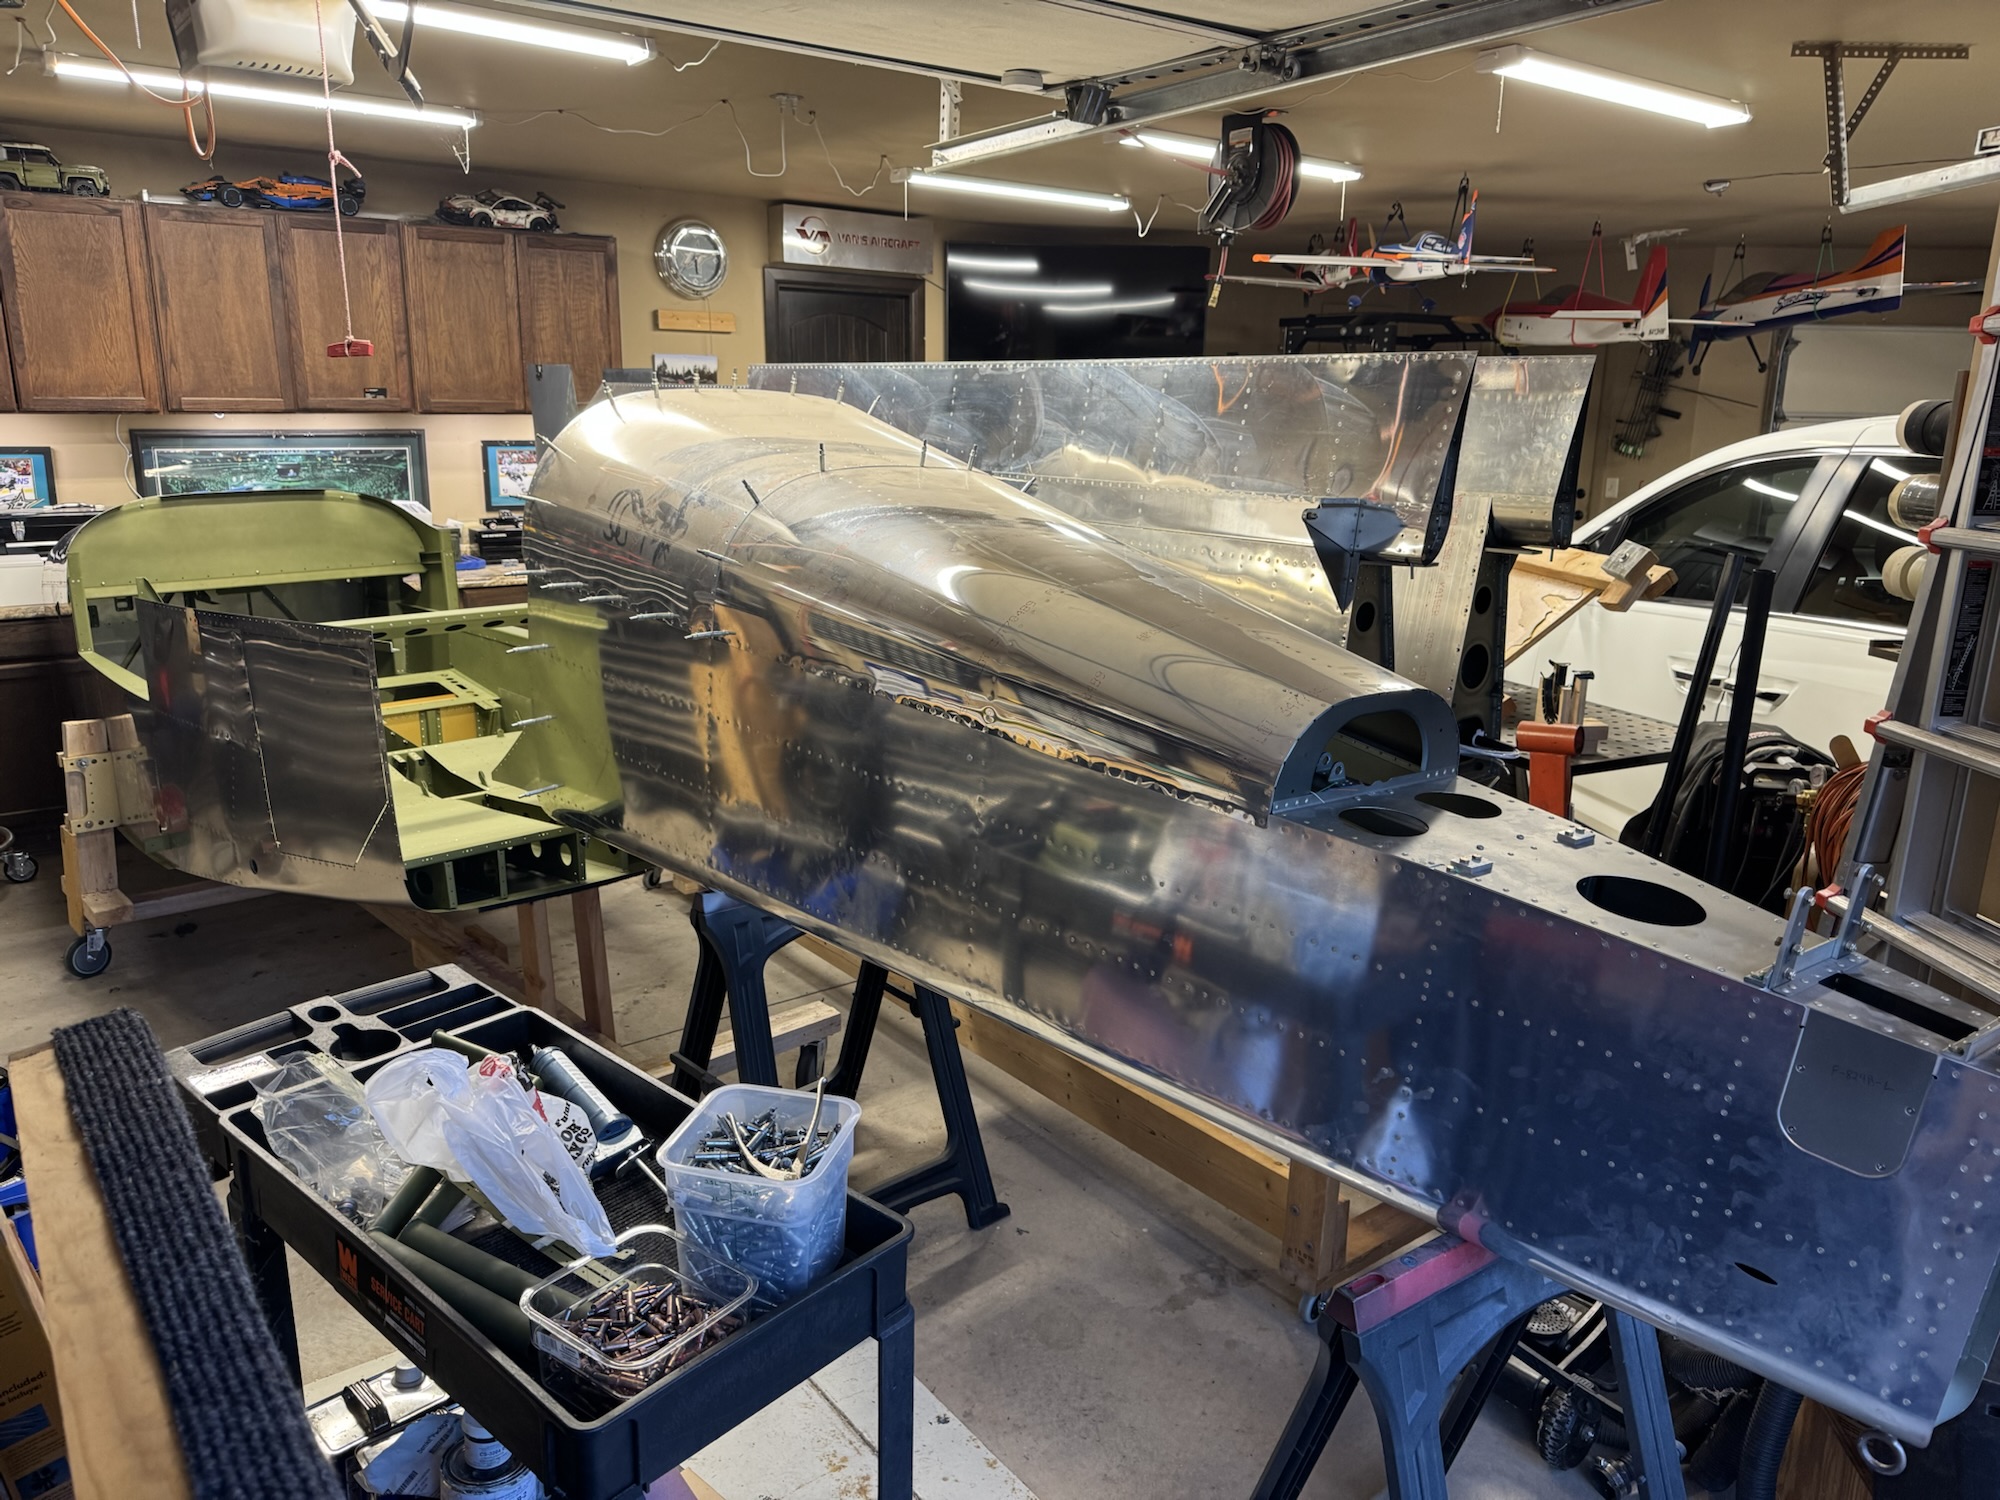
Once I completed riveting the entire project together, this is how it turned out!

I didn’t have too many things I wasn’t okay with in this project. I learned alot about de-burring. I was de-burring way too much at the beginning until I watched an EAA video that stated you should only have to make a few turns of the deburring tool in each hole. I might have to get a much slower drill to get the speed they were talking about. Luckily they said the drills that go that speed are very inexpensive so it might not be a bad buy in the long run.
Another part that didn’t turn out how I wanted it was the trailing edge. With the trailing edge clecoed together, it looked great! It was all flush and even with the root of the surface. I couldn’t have been happier! But it appears I still have something to learn about doing the double-flush rivets on the trailing edge. After I did that, the trailing edge turned out this way. I’m still perplexed as to how that occurred. I had the project on top of the 16″ back-rivet plate. And I had it where both the front of the project and the trailing edge were supported by the plate. Now I couldn’t get the entire project on the plate, but I felt that if I had the project laying in that way (with the rounded front edge on one end of the plate, and the trailing edge on the other) it would be fine. But it didn’t quite work out. I’m going to have to do some research as to how best to perform a double-flush rivet.


I also didn’t bring my wife or kids out to help me on this. I found it extremely difficult though to track both the rivet gun and the bucking bar at the same time. It resulted in this nice little dent around the main spar.

All in all, I’m still very happy with the project. Like they stated in the instructions, if it comes out without any issues, you didn’t learn anything. I plan on ordering a second kit here soon as well as constructing the lightbox that I ordered too. This will give me (hopefully) plenty of time to practice riveting, bucking, seam rolling, de-burring, etc.


0 Comments